
At its core, an equalizer (or EQ) is a tool for shaping the sound of your music by boosting or cutting the volume of very specific frequencies. The simplest way to think about it is a set of super-precise volume knobs. Each one controls a different slice of the audio pie, from the deepest bass all the way up to the shimmering highs.
This level of control is what lets you go from fixing problems to making some seriously creative enhancements.
Picture your song as a finished painting. Every instrument is a different color. Without any EQ, all those colors might just blend together into a muddy, undefined mess. So, what does EQ do here? It’s your paintbrush. It lets you brighten the yellows (cymbals), deepen the blues (the bassline), and make sure the main subject (your vocals) pops right out of the frame.
Without EQ, it’s chaos. Instruments that live in the same frequency range are constantly fighting for the listener's attention. A kick drum and a bass guitar might be battling it out in the low-end, creating a boomy, unclear rhythm. An acoustic guitar and a piano could be stepping on each other's toes in the midrange, masking the beautiful character of each.
This is where equalization gives you real power. By carving out just a little bit of space in one instrument’s frequency range, you create a perfect pocket for another to sit in. But this isn't just about fixing mistakes—it’s a deeply creative process.
With a good EQ, you can:
To put it simply, an equalizer helps you create a sense of order and clarity from sonic chaos. Here's a quick breakdown of its main jobs.
Ultimately, learning to use EQ is what separates a decent mix from a great one.
An equalizer is fundamentally a tool for balance. Its job is to ensure every element in your song can be heard clearly and contributes to the overall emotional impact of the music.
Mastering EQ transforms your workflow from just guessing and hoping to deliberately sculpting your sound. And for artists who really care how their music sounds everywhere—especially in the car—digging into the essentials of audio mastering EQ is the logical next step to making sure your tracks hit hard on any system.
Staring at an EQ plugin for the first time can feel like you’re in a pilot's cockpit—graphs, knobs, and numbers everywhere. It looks intimidating, I get it. But once you get the hang of the main controls, you'll see it's actually pretty intuitive.
Every single EQ, from the free one in GarageBand to a pricey third-party plugin, is built on three core parameters. They all work together to let you shape your sound with incredible precision.
Think of it like a sonic sniper rifle. You have to aim it (Frequency), decide how hard it hits (Gain), and control how wide the impact is (Q). That's literally it.
To really get what EQ does, you have to master these three controls. They are the engine behind every single EQ move you'll ever make.
Frequency: This is your target. It lets you pinpoint the exact pitch or tone you want to mess with, measured in Hertz (Hz). Want more punch from a kick drum? You'll aim for the low frequencies. Need to dial back the harshness of a cymbal? You'll target the high frequencies.
Gain: This is your power. It sets how much you boost or cut that frequency you just targeted, measured in decibels (dB). Turn the gain up, and that specific tone gets louder. Turn it down, and it gets quieter. It’s the "how much" part of the equation.
Q (or Bandwidth): This is your focus. "Q" stands for "quality factor," and it controls just how narrow or wide your adjustment is. A high Q value is like using a scalpel—it makes a super narrow, surgical cut that only affects a tiny group of frequencies around your target. A low Q creates a broad, gentle curve, affecting a much wider range, which is perfect for general tonal shaping.
These three controls are the foundation. But how you use them often comes down to the type of filter you pick inside the plugin.
Different jobs call for different tools, and your EQ plugin gives you a few filter shapes to get things done right. Think of them as different lenses for your sonic camera.
A bell curve is your workhorse. It's the one you'll use most of the time. It boosts or cuts frequencies around a central point, making that classic bell shape on the graph. It’s perfect for everything from tight, surgical cuts to wide, musical boosts.
A shelving filter, on the other hand, affects all frequencies above (a high-shelf) or below (a low-shelf) a certain point. You might use a high-shelf to add a little "air" to your entire mix or a low-shelf to gently roll off some boominess from a bass without killing its low-end completely.
Finally, you have high-pass and low-pass filters. These are your cleanup crew. A high-pass filter (HPF) slices off everything below a certain frequency—an absolute must for getting rid of useless low-end rumble from things like vocals and acoustic guitars. A low-pass filter (LPF) does the opposite, cutting out the highs.
Even free DAWs come with solid EQs, but you can always expand your toolkit. If you're curious, you can find some great free plugins for GarageBand that can really step up your game.
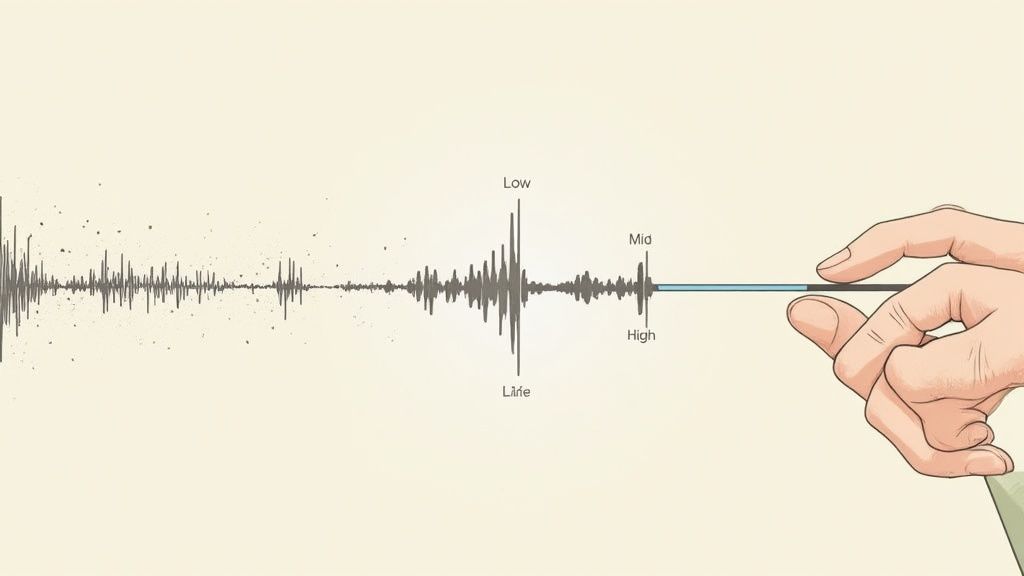
To really get what EQ does, you have to connect the numbers on your screen to the actual sounds you’re hearing. It’s a bit like learning a new language. Every single sound in your mix—from the deepest kick drum to the highest cymbal—lives in a specific spot on the frequency spectrum, which runs from a gut-rumbling 20 Hz all the way up to a dog-whistle high of 20,000 Hz.
Think of this spectrum as a sonic landscape. Learning to pick out these different regions by ear is probably the single most important skill you can build as a producer or engineer. It’s what transforms EQ from a guessing game into a powerful creative tool. Instead of randomly boosting and cutting, you’ll know exactly where to go to fix a problem or add that perfect touch.
This infographic breaks down the three core controls you'll be using to shape that landscape: Frequency, Gain, and Q.
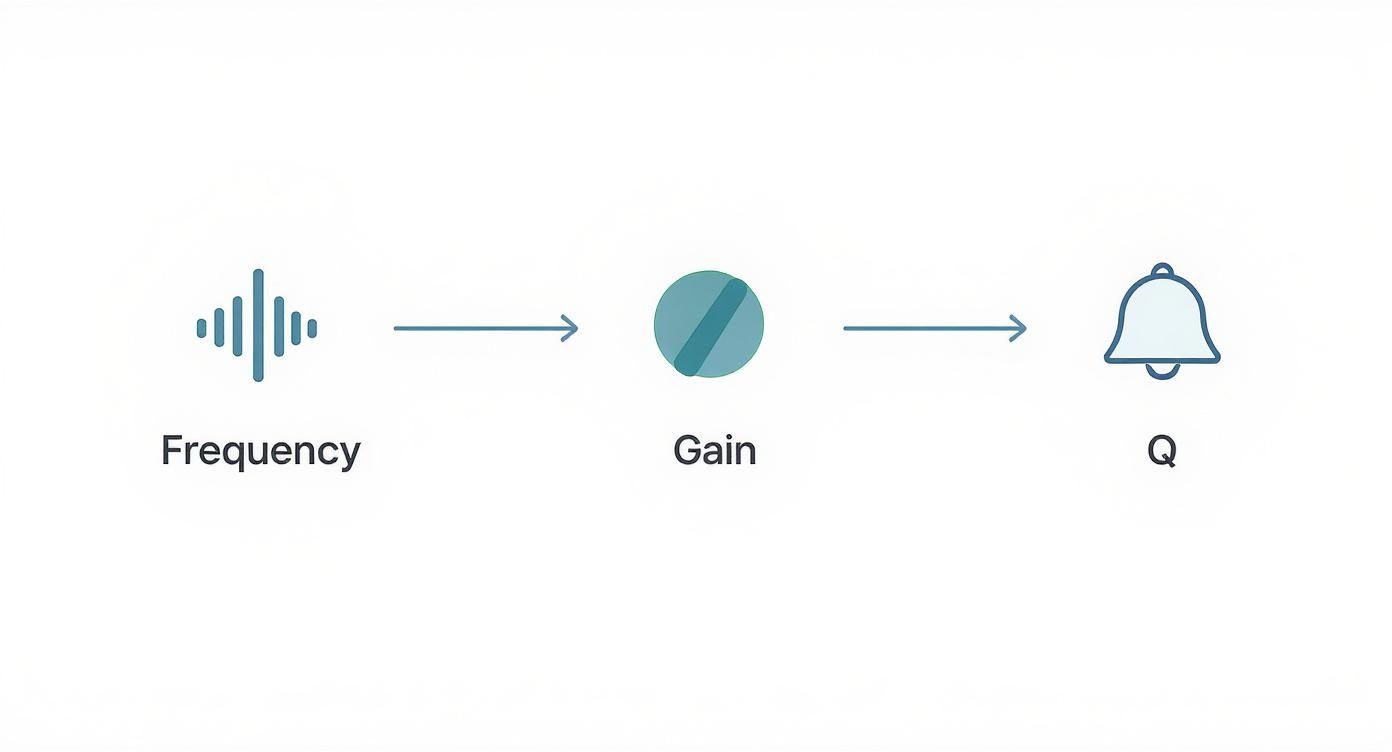
Simply put, you're picking a spot to adjust (Frequency), deciding how much to turn it up or down (Gain), and controlling how wide or narrow that adjustment is (Q).
To help you start mapping this all out, here’s a quick guide to the key frequency ranges and what they actually sound like in your tracks.
This table breaks down the personality of each major frequency band. Think of it as your cheat sheet for knowing where to look when you hear something you want to change.
Memorize these associations, and you’ll start making EQ decisions faster and with more confidence. Let's dig a little deeper into each zone.
This is where you feel the music just as much as you hear it. The low end is the anchor of your entire track, giving it power and weight.
Sub-Bass (20 Hz – 60 Hz): This is pure rumble. We're talking about the deep thump of a kick drum that hits you in the chest and the lowest notes of a bass synth that shake the room. Be careful here—too much sub-bass can make a mix feel sloppy and eat up a ridiculous amount of headroom, but too little will leave your track sounding weak and thin.
Bass (60 Hz – 250 Hz): This is where you find the real punch and warmth of your low end. It’s the body of the kick and the fundamental notes of the bass guitar. This is the range that makes heads nod and gets people moving on the dance floor.
The mid-range is everything. It’s where most of your instruments live, and it’s also the frequency area our ears are most sensitive to. Nailing the mids is non-negotiable if you want a pro-sounding mix.
The mid-range is the heart of your mix. It's where vocals find their clarity, guitars get their bite, and snares deliver their impact. A cluttered mid-range is the number one cause of a muddy, amateur-sounding track.
This crucial area can be broken down into two main zones:
Low-Mids (250 Hz – 2 kHz): This is where you find the "body" of most sounds—the thickness in a guitar, the warmth in a piano, the weight of a vocal. But this is also where "mud" loves to hide. A little bit of cutting here can instantly clean up a cluttered, boxy-sounding track.
High-Mids (2 kHz – 6 kHz): This is the presence and clarity zone. Want a vocal to sit on top of the mix? Boost here. Need more aggression from a distorted guitar or more snap from a snare? This is the place. Just tread lightly. A little too much boosting can make things sound harsh, nasal, and just plain annoying to listen to.
Finally, we have the top end. This is where you add the final sparkle, detail, and professional polish to your mix.

Knowing what the frequency chart means is one thing, but actually making music with that knowledge is a whole different ballgame. The real secret to a great mix isn't just knowing what EQ does—it’s knowing why you’re reaching for that plugin in the first place.
This boils down to two fundamental ways of thinking about EQ. Most seasoned engineers will tell you to get comfortable with subtractive EQ before you even think about boosting anything.
Why the "cut first" mentality? Because carving out nasty frequencies cleans up your mix and naturally makes space for everything else to breathe. It’s like clearing the clutter out of a room before you start putting up decorations. You just get better results.
Think of subtractive EQ as your problem-solver. It’s the surgical tool you pull out to get rid of annoying resonance, clear up muddy low-end buildup, and bring clarity to your tracks. Often, the goal is to create a "pocket" where a key element, like a lead vocal, can sit perfectly without fighting for attention.
Here's a classic example: a vocal and an acoustic guitar are stepping all over each other in the low-mids. They're just masking each other. Instead of cranking up the vocal to win the volume war, try this instead:
This simple move preserves your headroom and leads to a much more natural, open sound. We get way deeper into finding that perfect spot for your singer in our guide on how to EQ vocals.
The best EQ moves are the ones you don't really "hear." Instead, you just notice that everything else in the mix suddenly sounds better. That’s the magic of creating space.
Once you’ve cleaned house and everything has its own space, then you can start thinking about additive EQ. This is the fun part—adding character, shine, and excitement. It's the spice you sprinkle on after the main dish is already perfectly cooked.
Additive EQ is all about small, musical boosts that bring out the best parts of an instrument's tone.
A few go-to additive moves:
The key here is restraint. It's so tempting to just start boosting everything, but that's a fast track to a harsh, cluttered mix. Good mixing requires you to fight that impulse and make deliberate, intelligent choices—starting with the cuts.
Learning the techniques is only half the job. Just as important is knowing all the common traps that can completely wreck your mix, leaving it sounding thin, harsh, or just plain weird. If you can learn to sidestep these mistakes, you’ll be making musical, impactful decisions every time you reach for an EQ.
One of the biggest mistakes I see people make is tweaking the EQ on an instrument while it's soloed. It makes sense on the surface—you want to focus on that one sound and get it perfect, right? The problem is, a track never lives in a vacuum. What sounds amazing on its own might completely vanish or, worse, fight with everything else once it's back in the full mix.
Always make your most critical EQ moves while the whole track is playing. The real goal is to get all the instruments to fit together like puzzle pieces, not to make each individual piece sound flawless by itself.
Another huge pitfall is just boosting everything. It's so tempting to add punch by cranking up a frequency you like, but this is a fast track to a harsh, brittle mix that runs out of headroom. A much more pro-level move is to think subtractively first.
Instead of boosting the "good" frequencies on one track, try cutting the "bad" ones from other tracks that are getting in the way. For example, before you go boosting a vocal's presence range, see if you can make a small cut in the guitars or synths that live in that same frequency pocket. This tiny adjustment often carves out the space you needed all along, without adding any of that digital harshness.
Here are a couple of other critical mistakes to watch out for:
Building these habits early will help you understand what EQ does on a much deeper, more musical level. It's the key to getting cleaner, more professional-sounding mixes every single time.
As you get your hands dirty with equalization, you'll find a few questions pop up over and over again. Getting straight answers to these is a huge part of building your confidence and making EQ an intuitive part of your workflow.
Let's clear up a few things we hear all the time.
This is the classic chicken-or-the-egg debate in audio, and the real answer is: it depends on what you're trying to do. Neither way is "correct"—they just give you different results.
EQ Before Compression: You'd do this to control what the compressor hears. Let's say you have a boomy acoustic guitar track where the low notes are making the compressor clamp down way too hard. By cutting those problem frequencies before the compressor, you get a much smoother, more natural-sounding compression.
EQ After Compression: This is all about shaping the final tone. Sometimes, a compressor can squash the life out of a track, making it sound a bit dull. Placing an EQ after the compressor lets you bring back that sparkle or add some body that was lost during the squeeze.
Honestly, most pros do both. They'll often use a "surgical" EQ to clean up problem spots, run that clean signal into a compressor, and then use another "coloring" EQ to sweeten the final sound.
Both are tools for adjusting frequencies, but they offer wildly different levels of control.
A graphic EQ is what you’ve probably seen on stereos or live soundboards. It's a row of sliders, each fixed to a specific frequency band with a set bandwidth. They're great for making quick, broad-stroke adjustments, like tuning a PA system to a room.
A parametric EQ, on the other hand, is a precision instrument. It gives you total control over the three essential parameters for every band: the exact frequency you want to adjust, the gain (how much you boost or cut), and the Q (how wide or narrow that adjustment is). It's the scalpel you need for the detailed work of mixing and mastering.
Your DAW's stock EQ is almost definitely a parametric one. It's the flexible, do-it-all tool you'll be reaching for 99% of the time.
A high-pass filter (HPF), sometimes called a low-cut, is a simple but powerful EQ move. It cuts all the frequencies below a certain point you set, letting only the higher frequencies "pass" through.
This might just be the single most effective tool for cleaning up a muddy, cluttered mix.
You should use a high-pass filter on pretty much every track except for the ones that truly live in the low end, like your kick drum and sub-bass. That useless low-frequency rumble on vocals, guitars, synths, and even snare drums doesn't seem like much on its own, but it adds up across dozens of tracks.
This accumulated mud eats up your headroom and blurs the clarity of your entire mix. Slicing it away with a high-pass filter is one of the fastest ways to create instant space and power.
Ready to make sure your music sounds as powerful in the car as it does in your headphones? CarMaster uses purpose-built AI to deliver professional, car-ready masters in minutes. Protect your songs from sounding bad on the road by getting a free preview at https://www.carmaster.io.

.png)