
The final, critical step in getting a metal track ready for release is mastering. This is where you polish the mix for distribution, focusing on maximizing loudness, punch, and clarity without gutting the raw energy that defines the genre.
But here’s something a lot of people miss: a killer metal master doesn't start with plugins. It starts with a perfectly prepared mix file that has plenty of headroom and zero technical glitches. Getting this part right is non-negotiable if you want a competitive, professional sound.
The journey to a crushing, powerful metal master begins long before you ever touch a limiter.
It's a truth that gets overlooked in the rush to make tracks louder, but the final quality is almost entirely locked in by the quality of the mix you start with. A mastering engineer can only enhance what's there; they can't fix fundamental problems without making some serious compromises.
Think of it like forging a sword. You need high-quality steel before you can shape and sharpen it into a weapon. A flawed mix is like starting with brittle, impure metal—no amount of hammering will fix those underlying weaknesses.
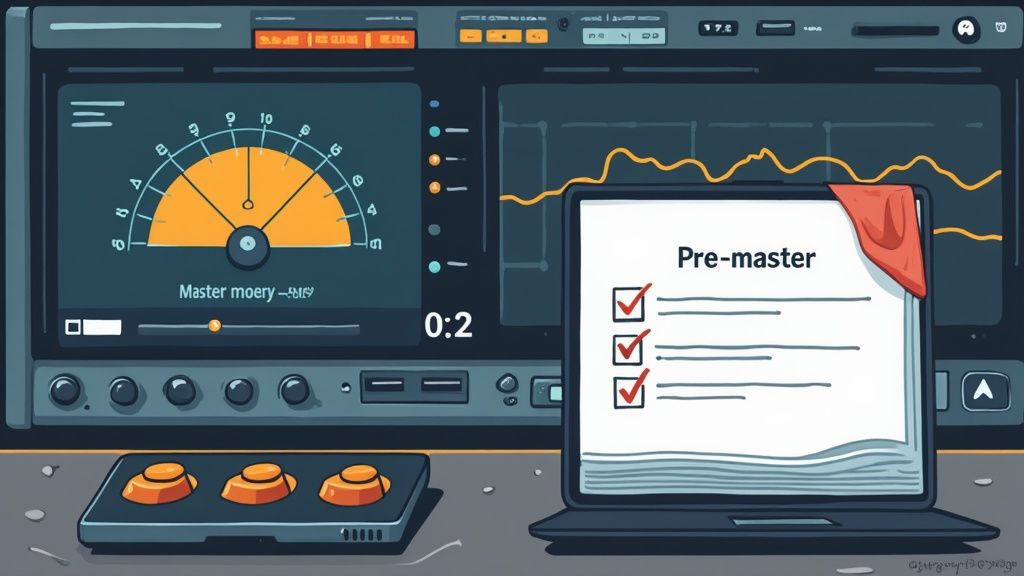
This first stage is all about meticulous prep and quality control. Before you even think about loading a single mastering plugin, the mix file itself has to be technically perfect. This means hunting down any issues that could get amplified during mastering, turning tiny imperfections into glaring, amateur-hour mistakes.
One of the most critical parts of prepping your mix is headroom.
This is simply the space between the loudest peak of your track and the absolute digital ceiling (0dBFS). Without enough of it, there's no room for your mastering engineer to apply EQ and compression without instantly causing digital clipping and nasty distortion.
Aiming for at least -6dBFS on your master bus is a professional standard for a reason. It gives you plenty of space to work with, allowing for dynamic tweaks and loudness increases that sound powerful, not just squashed into a brick. Slamming your mix fader right up to 0dBFS is a classic mistake that ties the mastering engineer's hands and almost always leads to a weaker final product.
A mix that’s already clipping before mastering even begins is compromised from the start. The goal is to deliver a clean, dynamic file with the potential for loudness, not one that's already distorted.
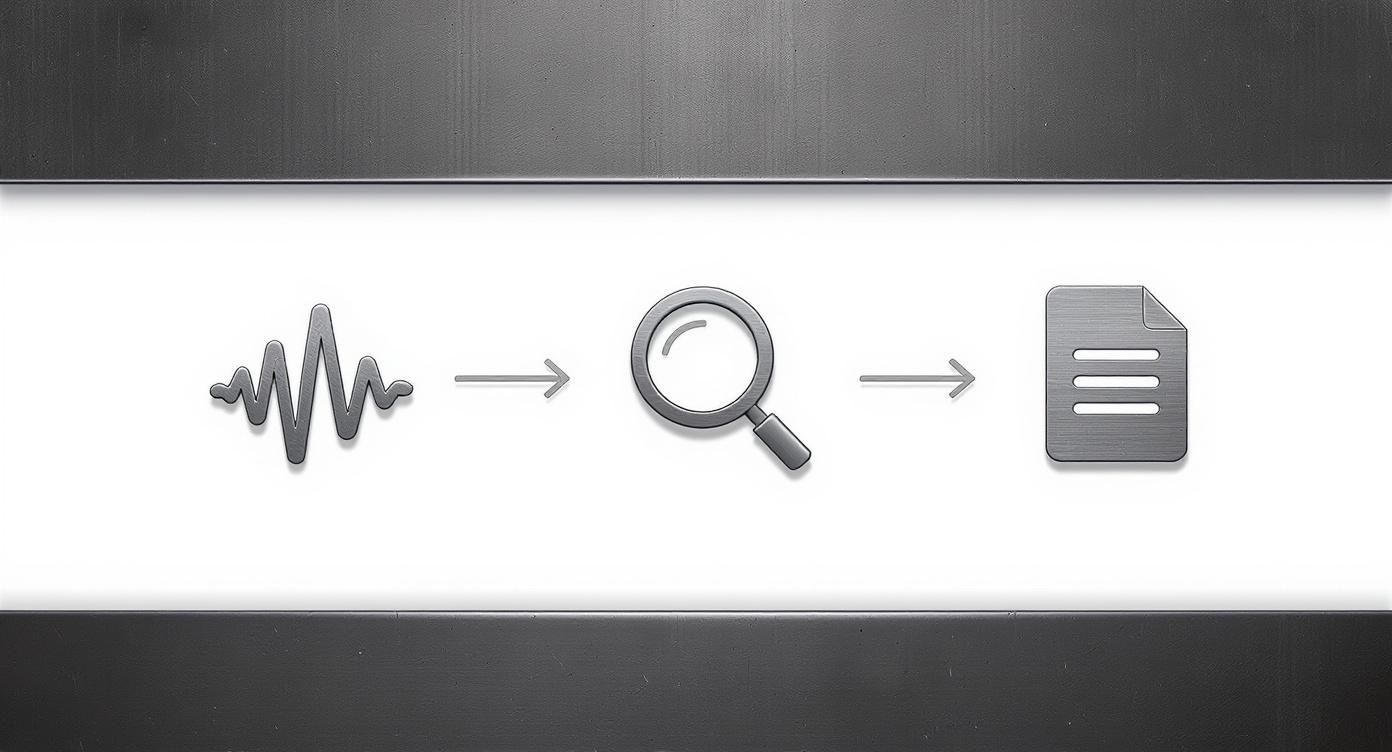
This workflow visualizes the essential steps, from creating headroom all the way to the final file export, reinforcing that a clean mixdown is the bedrock of professional metal mastering.
Beyond just headroom, you need to do a thorough technical check. This means listening with a critical ear and using analysis tools to spot problems that might not be obvious on your monitors.
Once your mix is clean and has proper headroom, the final step is exporting it correctly. Always export your final mix as a 24-bit (or 32-bit float) WAV or AIFF file at the original session's sample rate. Never, ever submit an MP3 for mastering; its compressed data will only result in a lower-quality master.
By nailing these steps, you’re handing over a pristine canvas, ready for the final touches of the audio mastering chain.
Okay, so you’ve got a clean mix file with plenty of headroom. Now the real fun begins. This is where we take that solid mix and forge it into a powerful, release-ready master that can stand up to the competition. For this, our two main weapons are equalization (EQ) and dynamics control—and for metal, they need a very specific, almost surgical touch.
Unlike a lot of other genres, metal is just dense. You’ve got layers of high-gain guitars, ridiculously fast kick drums, and aggressive bass lines all fighting for the same sonic space. Your job isn’t to make big, sweeping changes. It’s to get in there with a scalpel and carve out a spot for everything, turning that wall of sound into a defined, impactful force.
The very first thing I do in a metal mastering session is listen for problem frequencies and opportunities for enhancement. A light touch is everything. If you find yourself needing to boost or cut more than 2-3 dB, that's a red flag. The problem is probably rooted in the mix and should be fixed there first.
One of the biggest battlegrounds is that low-mid range, usually somewhere between 200Hz and 400Hz. This is where the mud lives. It’s the zone where the body of the distorted guitars, the thump of the kick, and the warmth of the bass all tend to collide and turn into an undefined mess.
A subtle, wide cut in this area can work wonders, almost instantly cleaning things up. It creates space for the fundamental punch of the kick (down around 60-80Hz) to cut through and lets the aggressive guitar midrange do its job without everything turning to sludge.
A killer metal master is all about separation. You need every hit, every riff, every note to be heard clearly, even in the most chaotic sections. Smart EQ is how you create that separation so the kick, bass, and guitars can all live together peacefully.
Once the mud is cleared out, I start looking for ways to add aggression and air.
If you want to go deeper on this, our full guide on EQ for mastering is a great resource for really nailing these techniques.
With the tonal balance feeling right, it's time to get the dynamics under control. For metal, a single compressor just won't cut it. The music is too extreme—you've got insane transients from the drums right next to sustained power chords. To handle that, you need a multi-stage approach to keep things tight without squashing the life out of the track.
First up is often a "glue" compressor. I usually reach for a VCA-style compressor with a really low ratio (like 1.5:1 or 2:1) and a slow attack. The point isn't to smash anything, but just to gently kiss the peaks, maybe getting 1-2 dB of gain reduction on the loudest parts. It just helps pull the whole track together and make it feel more cohesive.
After that initial glue, the multiband compressor becomes your best friend. This is where you get incredibly precise. You can clamp down on the chugging palm-muted guitars in the low-mids without messing with the snare's crack in the upper-mids. It’s all about targeted control.
Here’s a rough starting point I often use for a multiband compressor on a metal track:
This kind of detailed control is what really separates an amateur master from a pro one. It’s how you get that insane loudness and power that metal demands, all while keeping the clarity and impact that makes people want to headbang.
Once you’ve wrestled your EQ and dynamics into place, it's time to tackle the stereo field. This is where a professional master truly comes alive. A narrow, congested mix just sounds small and amateur, completely failing to deliver the epic scale that metal is all about.
The mission is to build a wide, immersive soundscape that sucks the listener in, but—and this is crucial—without gutting the mix's punch and clarity.
This is where Mid/Side (M/S) processing becomes your best friend. It essentially splits your stereo signal into two distinct parts: the Mid channel (everything panned dead center, like your kick, snare, bass, and lead vocals) and the Side channel (all the stuff that creates width, like hard-panned guitars, overheads, and reverb).
Having this separation is a game-changer. It means you can treat the center of your mix completely independently from the edges, giving you surgical control over the final width and focus.
One of the quickest ways to ruin a metal master is with a wide, flabby low end. When bass and kick frequencies are splashing around in the side channels, you get a muddy, unfocused foundation that just has no impact. It's a recipe for phase problems and a nightmare on systems with a subwoofer.
The fix is surprisingly simple: use an M/S EQ to make your low end mono.
Here's the move:
This forces all that critical low-frequency energy from the kick and bass right into the center where it belongs. The result is a tighter, punchier foundation that hits hard and translates everywhere, even in mono.
A strong, centered low end is non-negotiable for a powerful metal master. By high-passing the side channel, you ensure your kick drum and bass guitar hit like a unified sledgehammer, directly in the listener's chest.
With the low end locked down, you can start thinking about adding some width to the top end. This is how you make those rhythm guitars feel like they’re coming from outside the speakers and give your cymbals that three-dimensional shimmer.
But you have to be careful. Overdoing stereo widening is a classic rookie mistake that leaves you with a thin, phasey mess.
Instead of reaching for some generic "stereo widener," just use your M/S EQ again. Try a gentle, wide high-shelf boost on the side channel—we’re talking just 1-2 dB—starting from around 7kHz. This subtly excites the stereo information already present in the cymbals and the high-end fizz of the distorted guitars. It adds a beautiful sense of air and space without artificially stretching the image.
If you’re looking for a dedicated tool, check out this list of the best stereo imaging plugins to get some ideas.
As you make these adjustments, your correlation meter is your most important tool. Don't ignore it. This meter shows the phase relationship between your left and right channels.
You want your master to live comfortably in the 0 to +1 range. If that meter starts dipping into the negative, especially during the loud parts, it’s a warning sign. Your master will sound weak, and some elements might even disappear when played back in mono. If you see it dip, just pull back on your widening until it stays safely in the positive. This one little meter ensures your massive-sounding master doesn't completely fall apart on a club PA system or a cheap Bluetooth speaker.

This is the final showdown. After all the surgical EQ and dynamic shaping, it’s time to bring your track up to a competitive commercial volume. In metal, loudness isn't just a technicality—it's a core part of the aesthetic. We need the track to hit like a sledgehammer, but without completely squashing the punch you just worked so hard to preserve.
This is the classic "loudness war" balancing act. The world of metal music mastering has come a long way, especially since the 2010s when the average metal album was slammed to a deafening -8 LUFS. That was way louder than most rock or pop, all in a relentless chase for intensity. If you're curious, you can learn more about the evolution of loudness in recorded music and how it’s impacted different genres.
But just cranking a limiter to hit a number is a rookie move that leads to a flat, distorted mess. A truly great metal master feels powerful and energetic, not just loud and lifeless.
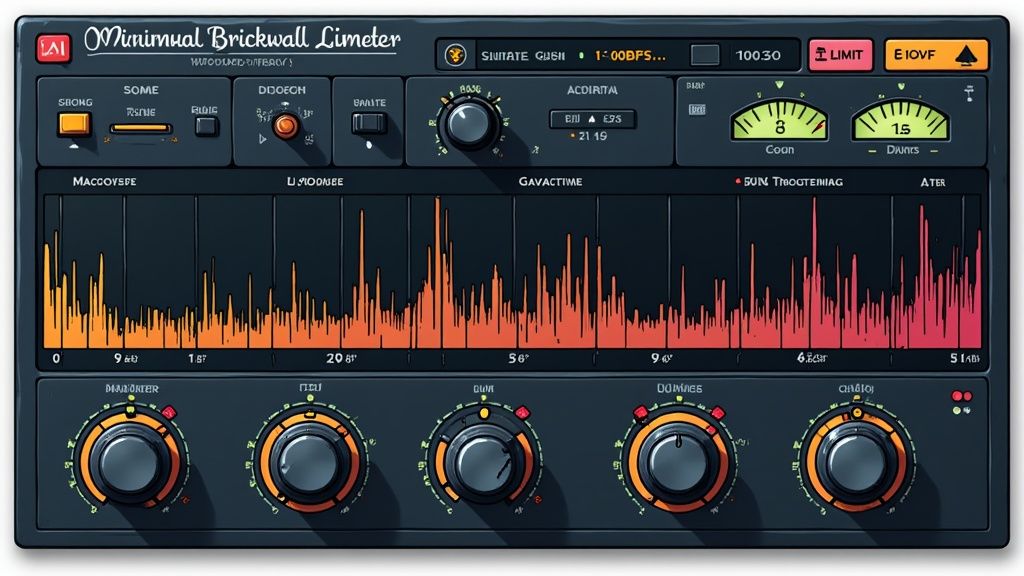
Your main weapon here is a good brickwall limiter. Its job is simple: push the overall level of the track up while making damn sure nothing ever clips past a set ceiling. Getting this right is what separates a clean, pro-sounding master from something that falls apart on streaming services.
Your first move, before you even think about adding gain, is to set the limiter’s output ceiling to -1.0dBFS. This isn't a suggestion; it's a non-negotiable for any track headed to Spotify, Apple Music, or anywhere else.
Why? Because when your audio gets converted to lossy formats like AAC or MP3, the encoding process can create tiny "inter-sample peaks" that are actually higher than what your meters show. If your ceiling is at 0dBFS, those new peaks will cause nasty digital clipping on earbuds and laptop speakers. That -1.0dBFS setting is your safety net.
Always flip on "True Peak" limiting if your plugin offers it. This feature is smart enough to predict and prevent those inter-sample peaks before they happen, giving you an extra layer of protection against unwanted distortion.
With your ceiling locked in, you can start gently pushing the input gain (or lowering the threshold) to bring up the perceived loudness. Don't just crank it. Nudge it up in small steps, maybe 0.5 dB at a time, and listen intently with every single move.
What are you listening for? The exact moment the limiter starts to do more harm than good.
This is where the real art comes in. You want to push it just enough to get that aggressive energy, but you have to pull back the second you hear those transients start to die. A good limiter might give you a few decibels of gain reduction before things get ugly, but every mix is a different beast.
Modern limiters aren't just volume knobs. They often come with different modes or algorithms that subtly color the sound, changing how the limiter reacts to transients. This can totally transform the final vibe of your master.
There’s no "best" setting here. You just have to experiment. Cycle through the different modes on your favorite limiter (FabFilter Pro-L 2 is a classic for a reason) and listen closely to what each one does to the impact of your kick and snare. Go with the one that gets you the loudness you need while doing the least amount of damage to the track's raw power.
A quick word on loudness targets—they vary a lot depending on the specific flavor of metal you're working with. Here’s a rough guide to give you a starting point for some popular subgenres.
This table offers a comparison of typical integrated LUFS targets for various metal subgenres, providing a practical starting point for mastering engineers.
Remember, these are just starting points, not hard rules. The most important thing is to use your ears and serve the song. A -12 LUFS doom track that feels massive and heavy is always better than a -7 LUFS track that’s been crushed into a lifeless brick.
Your master isn't done until it survives a trial by fire in the real world. This is that final, obsessive quality control stage of metal music mastering. It's where you stop tweaking plugins and just listen, making sure your track translates from your expensive studio monitors to the messy, unpredictable environments where people actually hear music.
A master that only sounds good in the studio is a failure. Plain and simple.
The whole process kicks off with some serious A/B referencing. Don't just throw your track up against your favorite metal album—get specific. Load up a few commercially released tracks from the exact same subgenre into your session. If you’ve just wrapped up a technical death metal song, you better be referencing it against modern Archspire or Obscura, not a classic doom record. You have to compare apples to apples.
Once you've got your sonic benchmark locked in, it’s time to get out of your comfy studio chair. The true test is how well your master holds up on cheap, consumer-grade gear. Each system is a new battlefield, ready to expose a different flaw.
A great metal master isn't just loud; it's robust. It needs the structural integrity to sound powerful and clear whether it’s blasting from a car stereo or being scrutinized through a pair of cheap earbuds.
After your master has survived every listening test you can throw at it, you’re ready to prep the final files for the world. Don't rush this part. A methodical checklist here saves you from frantic emails and re-uploads down the line.
Before you even think about hitting "export," get all your metadata embedded correctly.
With all that data locked in, it’s time to render. You’ll need a few different versions to cover all your bases, from streaming platforms to physical copies.
Once your audio is absolutely perfect, you can start thinking about the visuals. A killer sound deserves a killer look, so it might be time to dive into creating impactful metal music videos to really push your track to the next level.
Even after you've got a solid workflow down, mastering metal is full of little traps and nuances that can trip up anyone. Let's tackle some of the most common questions I hear all the time to cut through the noise and get you closer to that perfect final sound.
It's a good time to be in the metal game, by the way. The demand for heavy music mastering has absolutely blown up recently. With so many independent artists taking charge, the global market for music mastering services hit $1.2 billion, and metal projects make up a solid 15% of that pie.
We're talking about 180,000 metal tracks getting mastered every year. That number has doubled since 2015, mostly thanks to digital platforms letting bands skip the old-school label route. You can find more stats on metal's growing popularity at loadedradio.com. This boom means more artists are chasing that pro sound, which brings up a lot of practical questions.
This is the big one, and the real answer is always: it depends on the subgenre.
Seriously, a one-size-fits-all LUFS target just doesn't fly. If you slam a raw, atmospheric black metal track to -7 LUFS, it's going to sound completely unnatural and squashed. On the flip side, a metalcore track sitting at -12 LUFS will feel weak and anemic next to its peers on a playlist.
Here’s a rough guide:
Your best bet is to always pull up a few commercial tracks in your specific niche. Reference them constantly to find a competitive—and appropriate—volume target.
Absolutely. You really can. The quality of the plugins that come with your DAW these days is insane. You do not need a folder overflowing with expensive, boutique VSTs to get a professional master.
Most DAWs have you covered with the essentials:
It’s not about the price tag on the plugin; it's about knowing the tool inside and out. Get really, really good with what you already have before you even think about buying something new.
The best plugin is the one you actually understand. An expert with stock tools will run circles around a novice fumbling with expensive plugins they don't fully get.
My short answer is almost always no. Proper, traditional mastering is done on a single stereo file. If you're finding that your mix needs individual track adjustments—like the snare needs to come up or the bass needs a separate EQ—that's a mix problem, not a mastering one.
Sending a bunch of stems for what's often called "stem mastering" just blurs the line between mixing and mastering. Before you even consider it, ask yourself: "Can I fix this in the mix?" The answer is almost always a resounding "yes."
A killer master starts with a rock-solid stereo mix. That's the foundation. For more deep dives and discussions on topics like this, you might find some useful perspectives on the Branditok Blog.
Ready to create a master that sounds incredible in the car, on headphones, and everywhere else? CarMaster uses AI purpose-built to optimize your track's loudness and clarity for any playback system. Get your free, instant preview and hear the difference at https://www.carmaster.io.

.png)