
Mastering with an EQ isn't about performing sonic surgery. It's the final coat of polish, that last touch of gloss that makes a great mix translate beautifully everywhere—from tiny earbuds to massive club systems. When we talk about the best eq for mastering, we're really talking about making tiny, precise moves that honor all the hard work that went into the mix.
Before you even think about reaching for an EQ plugin, the real work begins. This setup phase is what truly separates a polished, pro-level master from something that just sounds… louder. You’re not here to fix a broken mix. You’re here to elevate an already great one.
Seriously, no amount of EQ wizardry can save a track with clashing instruments or a fundamentally weak low end. The entire process hinges on starting with a solid mixdown.
Your first job is simply to listen. And I mean really listen. Put the track on in your treated room, through monitors you trust, and keep the volume reasonable. Ask yourself, what does this track actually need? Is the low end genuinely muddy, or does it just need a little tightening? Is the top end lacking that professional sparkle, or is it already teetering on the edge of harshness? You have to set clear, achievable goals before you make a single move.
To get this right, you first need to be working with the right material. This means understanding the best audio file formats for the job. Always, always start with the highest resolution file you can get your hands on, which is usually a 24-bit or 32-bit float WAV file. This gives you the maximum dynamic range and sonic detail to play with, so you’re not fighting against artifacts from the get-go.
Next up is your toolkit. For mastering, you’ll generally run into two main types of EQs, and knowing the difference is key:
For most general "sweetening" tasks, a good minimum phase EQ will feel more natural and organic. But if you need to notch out a specific problem frequency with surgical precision, linear phase is your best friend.
Before you start tweaking, it helps to have a clear checklist. Think of it as your pre-flight inspection to make sure every decision you make is intentional and effective.
Running through these steps ensures you're not just guessing. You're making informed decisions that will genuinely improve the track.
Key Takeaway: Mastering EQ is not a repair tool. Its job is to provide that final 5-10% of polish. If you find yourself needing to boost or cut more than a few decibels anywhere, the problem almost certainly needs to be fixed back in the mix.
The demand for this kind of polish is only growing. The global mastering software market is on track to hit around $250 million by 2025, a boom driven by the sheer volume of music being created in home and project studios.
Ultimately, how you prepare will define your results. A great listening environment, a high-quality source file, and clear goals are what allow your EQ decisions to be purposeful and effective. It's a critical first piece of the complete audio mastering chain.
The low end is the heart of modern music. It’s where you feel the weight, the gut punch, the emotional core of a track. But it's also a minefield. Uncontrolled low-frequency energy can instantly turn a powerful master into a boomy, muddy disaster. When it comes to EQ for mastering, handling this range isn't about big, sweeping boosts; it's about surgical precision. You're building a foundation that's both powerful and impeccably clean.
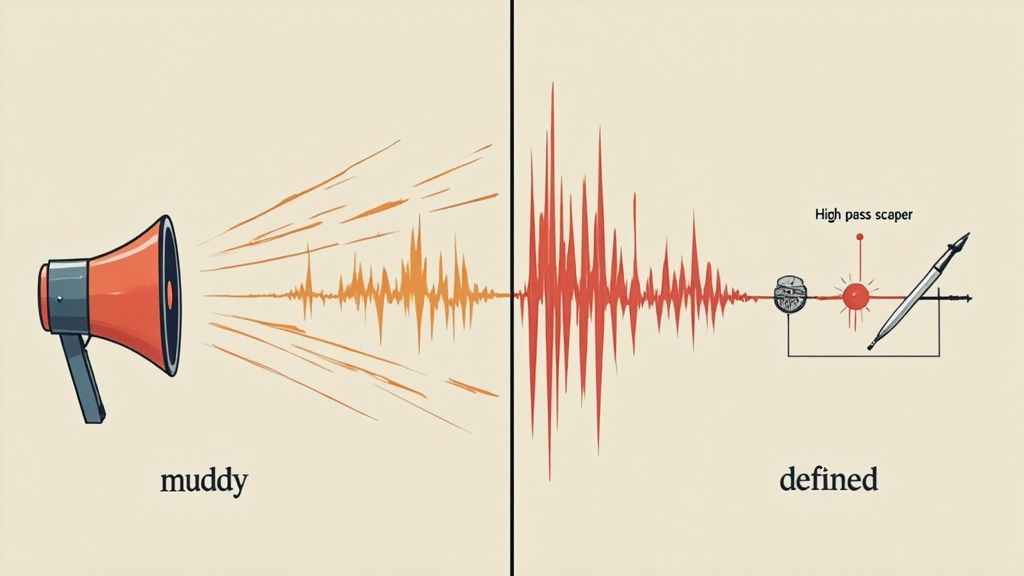
Your first move should almost always be grabbing a high-pass filter. Trust me on this one. Even if you can't hear it on your studio monitors, there’s often a ton of useless sub-sonic energy lurking below 20-30 Hz. This rumble—from mic stands, air conditioners, or even synth patches—eats up valuable headroom and makes your limiter work overtime for no audible benefit.
Just rolling off everything below 25 Hz is a great starting point. This one simple move can make the entire track feel tighter and more focused, creating space for the frequencies that actually matter.
Once that sub-rumble is gone, it's time to hunt for specific problem spots. A really common issue is a single resonant bass note that just booms out louder than all the others. This is the kind of thing that gets way worse on consumer systems like car stereos or cheap earbuds. The goal is to find that one offending frequency and gently pull it back.
A classic trick is to sweep a narrow EQ band with a temporary boost through the low end, somewhere between 40-150 Hz. Listen for the frequency that just jumps out at you. When you find it, flip that boost into a cut.
Pro Tip: Keep the Q setting narrow for this. You're performing surgery, not a broad amputation. A cut of just 1-2 dB is usually all it takes to tame the problem without weakening the entire bass region and killing the track's power.
This surgical approach is so much better than applying a wide cut, which can quickly make a track sound thin. If the whole mix still feels indistinct after this, you might have a bigger problem on your hands. It often points to buildup in the low-mids, which can lead to that feeling of a song sounds muffled.
Another game-changing technique is to make your low end mono. Any stereo information below 100-120 Hz is asking for trouble. It can cause nasty phase cancellation issues that lead to a weak, inconsistent bass response depending on the playback system. It also makes a track a nightmare to cut to vinyl. By summing these low frequencies to mono, you create a solid, anchored center for your track that translates everywhere.
Sometimes, the low end is clean but just needs a little more oomph. Instead of reaching for a broad boost that will almost certainly add mud, think about what you’re trying to achieve. Does the kick drum need to hit harder? Does the bassline need more warmth?
Here are a few starting points:
Always, always make these additive moves after you’ve cleaned up the sub-frequencies and tamed any nasty resonances. This way, you’re enhancing the good stuff instead of just amplifying existing problems.
The ultimate goal is a low end that feels powerful on a club system, sounds clear in a car, and is still present on a pair of earbuds. That’s the hallmark of thoughtful mastering EQ.
While the low-end gives you punch and the high-end adds sparkle, the mid-range is where the soul of your track lives. It's the sonic real estate where vocals, guitars, snares, and synths are all fighting for space. If you get this wrong, you're stuck with a congested, "boxy" master that just sounds amateur and flat. When it comes to EQ for mastering, the big goal here is creating separation and definition.
A crowded mid-range is probably the most common issue I hear in mixes, especially from home studios. Frequencies just build up and start masking each other, turning what could be a great track into a blurry wall of sound. The secret isn't to add more—it's to take away.
Subtractive EQ is your best friend in this zone. Small, clean cuts can do absolute wonders.
That notorious "mud" zone usually hangs out somewhere between 200 Hz and 500 Hz. A buildup here can make everything from vocals to snare drums sound dull and buried. Before you even think about boosting the frequencies you want to hear, try making a small, surgical cut in this area first.
A gentle dip of just 1-1.5 dB can instantly pry open the mix, giving every element room to breathe. This one tiny move often lets the lead vocal step forward on its own, without you ever touching its core frequencies. It can also give a snare drum way more snap by carving out that low-mid "thud" that was clouding its attack.
Mastering is often a game of inches. A tiny cut in the mids can have a more profound and musical impact than a big boost in the highs. It’s about creating space, not just adding brightness.
This careful, surgical approach is more important than ever. In fact, the global market for dynamic equalizers was valued at around USD 1.2 billion in 2024 and is expected to nearly double by 2033. This isn't just a trend; it's a reflection of a universal demand for better sound quality, and that starts with a clear mid-range. You can see more insights on the growth of the audio equalizer market and its trends.
Once you've cleared out the general muck, you can get more specific. Is the lead vocal still struggling to cut through? Instead of a wide boost, think about a very narrow, subtle lift around 1-3 kHz. This is the key range for intelligibility, and a little nudge here can bring a vocal forward without making it sound harsh. If you want to dive deeper, our detailed guide on how to EQ vocals has specific techniques you can easily adapt for mastering.
On the flip side, some frequencies can make a track sound aggressive or just plain cheap. Be really careful with the 800 Hz to 2 kHz region. It can add a "honky" or nasal quality, especially on guitars and snares. A slight reduction here often makes the master sound smoother and more polished.
Here are a couple of real-world scenarios you've probably run into:
The Problem: The acoustic guitar and the lead vocal are wrestling for the same spot.
The Problem: The snare drum is harsh and piercing your ears.
Mastering the mid-range is really an art of subtlety. It's all about making tiny adjustments that build a sense of depth and clarity, making sure every single element in your mix has its own place to live.
This is where a master really comes to life. We're talking about that professional sheen, that delicate "air" and sparkle that makes a track sound expensive and polished. But be warned: there's an incredibly fine line between adding beautiful clarity and introducing painful, brittle harshness that makes people want to rip their headphones off. Getting the top end right is a crucial skill in EQ for mastering.
For this job, a high-shelf EQ is usually your best friend. Instead of a bell curve that zeroes in on one specific frequency, a shelf gently lifts everything above a certain point. It's a much more cohesive way to add life and excitement across the whole top end without making individual elements, like cymbals or hi-hats, sound piercingly loud.
You'd be surprised what a tiny boost can do. A subtle lift of just 0.5 to 1 dB starting around 8-10 kHz can open up a track beautifully. The goal is to add that elusive sense of air without totally changing the character of the mix. My rule of thumb? If you can distinctly "hear" the EQ working, you've probably pushed it too far.
Hold on, though. Before you start boosting anything, you have to play defense. Listen carefully for any existing harshness. Sibilance—those sharp 's' and 't' sounds in vocals—and the fizzy wash of cymbals are the usual suspects. These problems typically hang out in the 5-8 kHz range. If you just slap a broad high-shelf boost on top of them, you're only going to make things worse.
To deal with this, I'll reach for a dynamic EQ or a standard parametric EQ with a really narrow Q setting.
This infographic gives a great visual overview of how EQ helps create clarity, a principle that's just as important in the high frequencies as anywhere else.
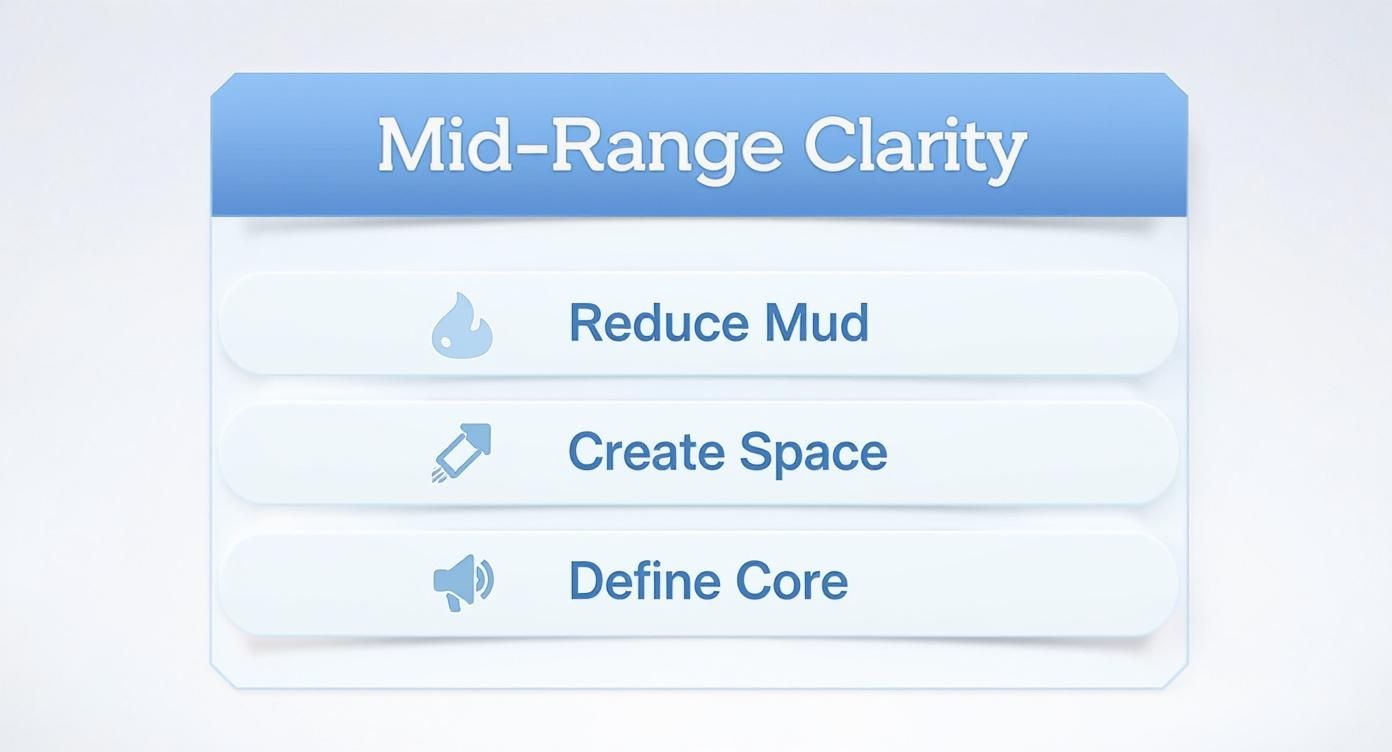
As you can see, it's all about carving out space and defining the core elements of the track.
For a more granular look, here’s a quick-reference table I often share with producers to help them identify and address specific frequency issues during the mastering stage.
This table is a handy guide for understanding what you're hearing and where to look when you need to make an adjustment. It's a great starting point for training your ears.
Think of this table not as a set of rigid rules, but as a map to guide your EQ decisions and help you speak the language of frequencies more fluently.
Let's talk about the "air band." This is a term we use for the frequencies way up top, generally above 12 kHz. While most people can't consciously "hear" these frequencies on their own, boosting them can have a pretty profound effect on the perceived openness and clarity of your master. A tiny, tasteful nudge in this region can be the final touch of polish that makes everything click.
Be extremely cautious here. A little goes a very long way. A boost of even 0.5 dB around 15-16 kHz can add a beautiful, silky texture that makes the entire master feel more three-dimensional. Overdo it, and the track will sound thin and artificial in a heartbeat.
Remember, the goal is to enhance what's already there, not to invent high-frequency content that doesn't exist. By cleaning up any harshness first and then applying a delicate, broad boost, you can add that expensive-sounding sparkle that makes a master truly shine.
https://www.youtube.com/embed/xkSi3E0qY34
Your stock EQ is a workhorse, no doubt. But the modern audio toolkit is packed with specialized EQs that can solve tricky problems with surgical precision. Learning to wield these tools is what separates a good master from a truly exceptional one. This is where we move beyond simple tone-shaping and start making intelligent, dynamic adjustments that bring a track to life.
One of the most powerful problem-solvers you'll ever use is the dynamic EQ. Think of it as a surgically precise equalizer that only kicks in when a specific frequency gets too loud. It's the perfect fix for issues that pop up here and there but aren't constant throughout the song.
For example, you've got a snare that sounds incredible for most of the track, but on the really hard hits, there's a harsh, piercing ring around 2-4 kHz. A static EQ cut would just make the snare sound dull the entire time. But a dynamic EQ? You can set it to duck that nasty frequency only when the snare cracks loud enough, leaving it completely untouched the rest of the time. Problem solved, tone preserved.
Another absolute game-changer is the mid-side (M/S) EQ. Instead of thinking in terms of left and right channels, an M/S EQ splits your audio into two distinct components:
This separation gives you incredible control. Want to add some "air" and sparkle to the track without making the lead vocal harsh? Just add a high-shelf boost to the side signal. Need to tighten up the low end? You can apply a high-pass filter to the side signal to keep your kick and bass locked firmly in the center, preventing a muddy, unfocused bottom.
Here's a real-world scenario: Your kick and bass are hitting hard in the center, but the stereo-panned electric guitars feel a little buried and lifeless. Instead of boosting their frequencies on a standard EQ (which would also affect the vocals and snare), you can use an M/S EQ to push the mids just on the side channel. This brings the guitars forward and adds width without cluttering up the crucial elements in the center.
You can't talk about modern tools without mentioning AI mastering. These platforms have exploded in popularity, offering instant results for producers and artists who need a quick, affordable master. They work by analyzing your track and automatically applying processing to hit loudness targets and create a balanced tone.
The speed is undeniable. But for all the hype, independent studies consistently show that AI still lacks the nuanced, musical judgment of an experienced human engineer. These services are fantastic for creating quick demos, checking how your mix will translate, or getting a reference master when you're on a tight deadline.
When it comes to a final, commercial release, however, the artistic intuition and detailed feedback from a real engineer almost always yield a better result. The tech is getting better, but it's not quite there yet. Interestingly, this evolution isn't just happening in mastering; you can see similar progress by looking at the best AI tools for content creation to get a sense of where things are heading.
At the end of the day, it's all about knowing which tool to grab for the job. Whether it’s a dynamic EQ for a rogue snare hit, M/S processing for adding width, or an AI platform for a quick demo, your goal is always the same: make the right moves to serve the song.
When you get into mastering, the same EQ questions pop up again and again. Honestly, the answers are what separate a good master from a great one. It’s about making confident, intentional moves instead of just guessing your way through it.
Let's dive into some of the most common hurdles I see engineers face.
Always, always lean on subtractive EQ first.
Think of it this way: you’re trying to carve out space, not just pile more stuff on top. This approach almost always sounds more natural and, more importantly, it protects your precious headroom. A small, precise cut is often way more powerful than a big, clumsy boost.
For example, say a vocal isn't cutting through. Your first instinct might be to boost the highs. Don't. Instead, try making a small, surgical cut somewhere in the low-mids—maybe around 250-400 Hz—to clear out some of that conflicting "mud" from other instruments. Nine times out of ten, you'll find the vocal just steps forward on its own.
Save the additive EQ for broad, gentle tonal shaping. A light high-shelf boost for a touch of "air" is a classic move, but keep these boosts tiny—usually under 1.5 dB. Make sure you use a wide Q setting so the result is musical and transparent, not harsh.
This choice comes down to what you're trying to accomplish.
Minimum Phase EQ is your daily driver. It's the standard tool you'll find on most analog-style EQs, and its subtle, natural phase shift is often sonically pleasing. You'll want to use this for the broad, musical boosts and cuts that shape the track's overall vibe.
Linear Phase EQ, on the other hand, is a specialized surgical tool. Its biggest advantage is making adjustments without causing any phase shift, which is perfect for very precise cuts on static, problematic sounds. If you have a nasty resonant frequency you need to notch out without messing with anything else around it, this is your go-to.
The trade-off? It’s a CPU hog and can introduce an artifact called pre-ringing. So, only pull it out when you really need that level of precision.
Key Takeaway: For musical character and general tone-shaping, stick with minimum phase. For transparent, surgical problem-solving, switch to linear phase.
It's shockingly easy to fool yourself, especially with loudness.
The single most critical tool for judging your EQ moves is a level-matched A/B comparison. Even a tiny bump in volume can trick your brain into thinking something sounds better. Always match the output level of your EQ plugin with the bypassed signal. That’s the only way to make an honest judgment based purely on tone, not volume.
Beyond that, you have to reference your work constantly. Play your master on different systems—in your car, on a pair of earbuds, through your laptop speakers. This is how you make sure your changes actually translate outside your studio bubble.
And finally, give your ears a break. Listening fatigue is a real thing, and it will absolutely destroy your perspective. Step away for ten minutes every hour. Go for a walk, grab a coffee, do anything to reset your hearing so you can come back with a fresh take.
Ready to hear how your track sounds perfectly optimized for the car? At CarMaster, our AI-powered mastering service is built specifically to protect your music from the unique audio challenges of automotive systems. Get a free, instant preview and ensure your song hits hard on the road and everywhere else. Try it now at https://www.carmaster.io.

.png)