
We've all been there. It's the moment of truth for every producer: your mix sounds absolutely perfect in the studio, but the second you play it in the car, it just... falls apart.
This isn't a sign that you made a bad mix. It's proof that the car is a uniquely hostile listening environment, and mastering your song for it isn't just a good idea—it's non-negotiable for a professional release.
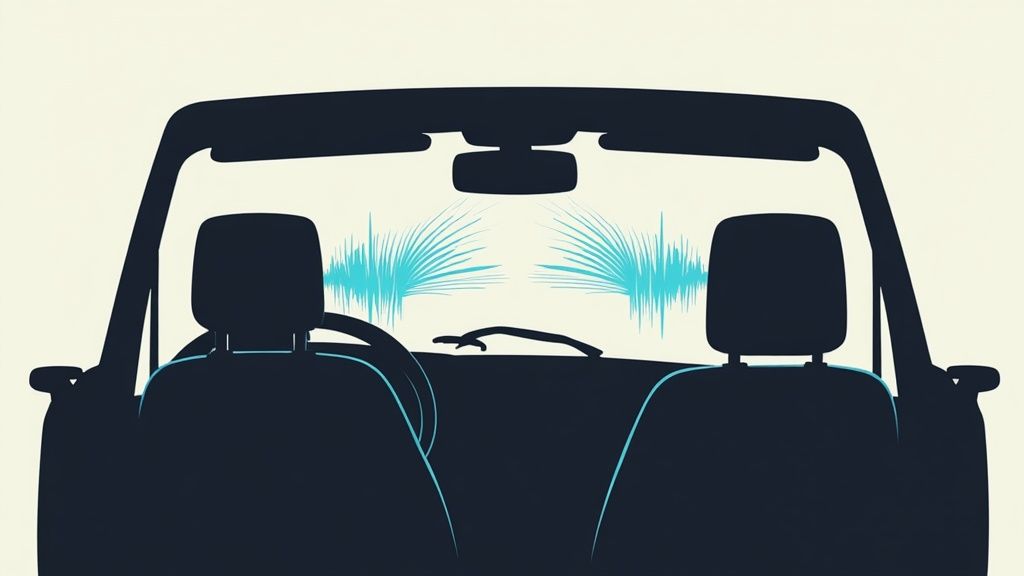
That sinking feeling is universal. You hit play, and suddenly the bass is a boomy, undefined mess. The vocals are buried under the hum of the road, and those crisp hi-hats now sound brittle and harsh. This happens because car cabins are total acoustic nightmares compared to a treated studio space.
The small, enclosed space creates some serious low-frequency build-up, turning your carefully crafted kick drum into mud. On top of that, you’re almost never sitting in the sweet spot. Being off-center can expose nasty phase issues you never heard in the studio, making your wide stereo mix sound hollow or lopsided.
Here's the thing: you can't just ignore the car test. For a huge chunk of your audience, it’s the only place they'll hear your music. With some studies showing that about 70% of music consumption happens during commutes, optimizing for this environment becomes absolutely critical.
This reality transforms the "car check" from a casual listen into a vital quality control step. Think about it.
Your track has to fight for attention against engine hum, tire noise, and the whoosh of the wind. If your master isn’t robust enough, these elements will completely mask crucial parts of your song, especially in that delicate mid-range where vocals and lead instruments live.
Understanding these challenges is the first step toward getting it right. The goal isn’t to create a mix that only sounds good in a vehicle, but to craft a master that translates everywhere—especially in this ridiculously demanding setting.
This takes more than a few EQ tweaks. It requires a specific approach to dynamics and stereo imaging to make sure your music hits just as hard on the highway as it does in the studio. You can also check out our guide on the best audio settings for car stereos to get a better handle on what your listeners are working with.
To really nail this, you have to appreciate just how different these two spaces are. A quick look at the key acoustic factors paints a pretty clear picture.
This comparison makes it obvious why a direct translation rarely works. Each environment demands a different consideration during the mastering process. Mastering for the car means anticipating these acoustic hurdles and compensating for them before your listeners ever hit play.
Before you even touch a mastering plugin, let's get one thing straight: a killer master for the car is born from a rock-solid mix. You simply can't fix fundamental mix issues at the mastering stage. All you'll do is make them louder.
So, the first real step in mastering your song for a car is actually a pre-mastering checklist. It's all about making sure your mix translates.
Think about the inside of a car. It's an inherently weird listening space. The driver is way closer to the left speaker, passengers are scattered all over, and nobody is in that perfect "sweet spot." This is precisely why checking your mix in mono is an absolute must-do.
When you collapse a stereo mix down to a single mono channel, phasing problems that were hiding out in the wide stereo field suddenly have nowhere to go. They show up as instruments that sound thin, weak, or sometimes, disappear completely.
Get in the habit of flicking that mono switch on and off while you're mixing. Are your super-wide synth pads suddenly sounding hollow? Did your bass just lose all its punch? That's a classic sign of phase cancellation, and you need to fix it back in the mix, at the source. This one check alone will save you from a huge percentage of the problems people run into with car playback.
If you're still pulling your hair out trying to figure out what's wrong, our guide on why your song sounds bad in the car digs even deeper into these issues.
Car interiors are notorious for turning the low-end into a boomy, muddy mess. That massive 808 that shakes the walls in your studio? In a sedan, it's just going to overwhelm the stock speakers and subwoofer, turning your track into a pile of mud.
Be ruthless with a high-pass filter. Slap it on anything that doesn't absolutely need to live in the sub-bass frequencies—vocals, hi-hats, acoustic guitars, you name it. Cleaning up this crucial frequency range is one of the biggest favors you can do for your future master.
Pro Tip: It's not just about what you hear, but what you don't hear. The constant rumble of road and engine noise loves to hang out in the low-mids, masking important parts of your mix. Try a slight, surgical boost somewhere around 1-3 kHz on your lead vocal or main melody. This can help it cut through that road noise without sounding harsh or tinny.
This kind of careful prep work is what separates the pros from the amateurs. The market for automotive speaker systems is exploding—projected to hit $6.34 billion USD by 2034 as drivers demand better clarity and bass. You can read up on the latest in automotive speaker market analysis to see where things are headed. A clean, well-balanced mix gives your master the best possible chance to sound incredible on these increasingly sophisticated systems.
Alright, time to put all this theory into practice. The secret to getting this right without pulling your hair out is building a repeatable process. A solid workflow turns a frustrating chore into a focused, analytical part of your mastering chain.
This isn't just about a casual listen in your driveway. We're building a reliable feedback loop between your studio monitors and your car speakers.
First things first, you need to export a test version of your master. And please, don't just text a low-quality MP3 to your phone. Export a high-quality WAV or AIFF file—the same resolution you'd send out for professional distribution. This is critical. You need to hear an accurate representation of your mix, not the crunchy artifacts left behind by heavy data compression.
Now, how do you get that pristine file playing through your car's system without messing it up? The goal is a clean signal path. That means you should avoid Bluetooth if at all possible, as it almost always re-compresses the audio. That can easily color the sound and hide the very problems you're trying to find.
The best methods are usually the most direct:
Once you’re in the car, resist the urge to immediately crank it to 11. Listen at a few different volumes. A quiet level is great for revealing if your vocals or lead instruments are getting buried in the mix. Then, try a moderate, conversational volume to check the overall balance and glue. Finally, turn it up loud to expose any harshness, distortion, or pumping that wasn't obvious in the studio.
The infographic below really hammers home the pre-mastering checks that make this car test so much more effective.
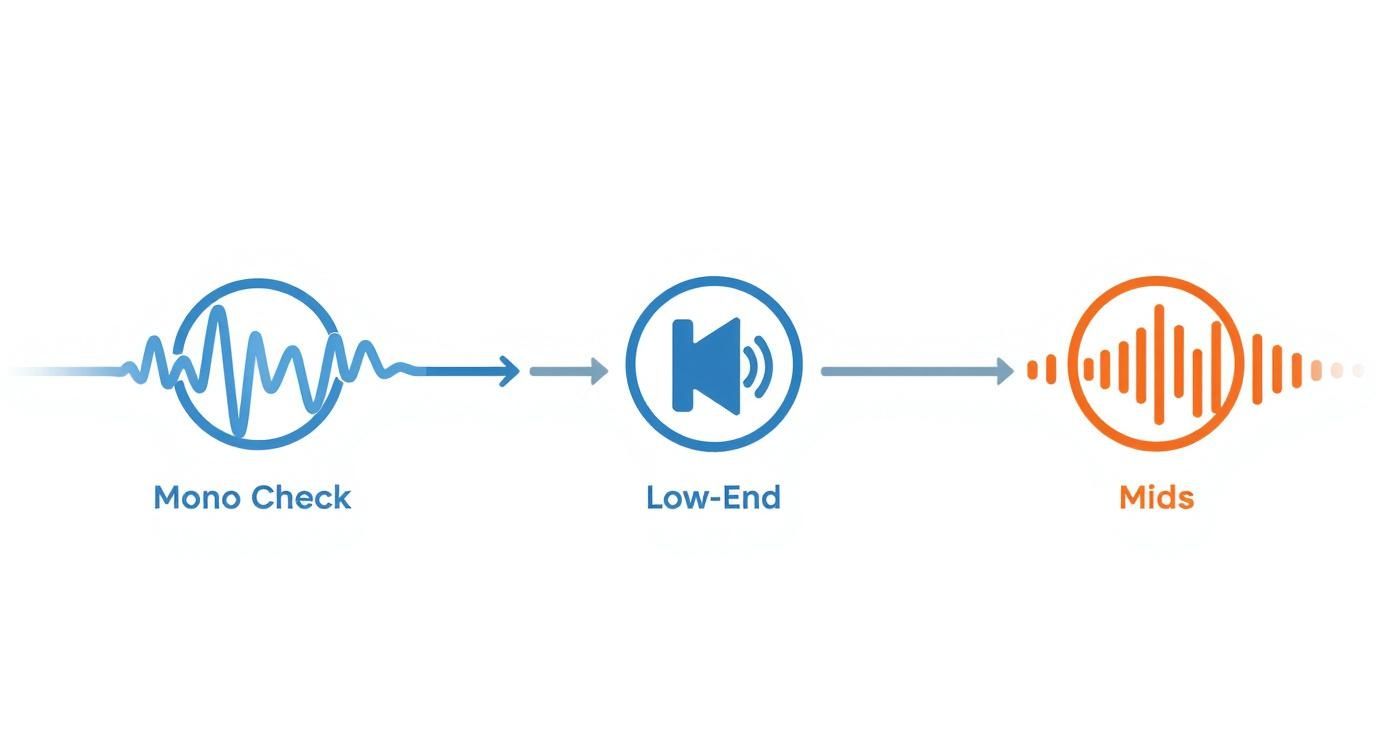
Think of this as your pre-flight checklist. Nailing things like mono compatibility, low-end management, and mid-range clarity will prevent most of the major issues before you even grab your car keys.
The notes you scribble down in your car are the bridge back to your DAW session. Vague comments like "bass too loud" are pretty much useless when you're back in front of your speakers. You have to be specific and diagnostic.
Instead of writing "vocals are muddy," get granular. Try something like, "The vocal's low-mid energy around 250 Hz seems to be fighting with the synth pad, making the lyrics hard to understand."
See the difference? That second note gives you a clear, actionable problem to solve. You know exactly where to look and what to do—in this case, probably some targeted EQ on either the vocal or the synth.
This kind of detailed feedback is what makes the whole process click. It turns a subjective feeling into an objective task, helping you make precise changes that directly fix what you heard. Each revision becomes a meaningful step forward, not just another shot in the dark.
You’ve got a phone full of notes from the car test. Now what? This is where the magic happens—turning vague, subjective feedback like "the kick sounds weak" into precise, objective mastering fixes. Mastering a song for the car is all about translating those real-world listening experiences into surgical adjustments back in your DAW.
Let's take a common example. Your notes say the vocals get buried every time a car drives by or the engine revs up. That’s a classic mid-range problem. The drone of road noise often sits in the low-mids, completely masking the core frequencies of the human voice. The solution isn't just to crank up the vocal fader; it's to carefully carve out space for it with EQ.
A frequent complaint I hear from producers is a "boomy" or "muddy" low end. This almost always points to a buildup of energy somewhere between 100-300 Hz. Often, a wide, gentle EQ cut on your master bus right in that zone can clean things up immediately, and you won't even lose the track's essential warmth.
On the flip side, what if the kick drum feels thin and lacks punch? Your first instinct might be to boost its low-end, but that can just add to the boominess we're trying to avoid. Instead, try a tight, narrow boost somewhere around 2-4 kHz. This little trick accentuates the "click" of the kick beater, giving it the definition it needs to slice through the mix, even on tiny car speakers.
A great car master isn't built on radical changes. It's the result of many small, strategic tweaks that, together, make a massive difference in how the song translates. Think surgeon, not butcher.
Nailing these precise adjustments can be the toughest part of the whole process. If you want to get deeper into the specific tools for the job, our guide on building an effective audio mastering chain lays out a clear roadmap of the plugins and settings you'll need.
The key to making real progress is converting that feedback into a concrete to-do list. Here’s a simple way to translate what you heard in the car into specific mastering tasks.
This methodical approach stops you from chasing your tail with endless, frustrating revisions. It’s a necessary skill, especially as consumer expectations rise. The global in-car audio system market is projected to explode to nearly $40.69 billion USD by 2035, driven by this demand for better sound. You can explore the in-car audio market trends to see just how high the standards are getting. Every precise fix you make ensures your track is ready to compete.
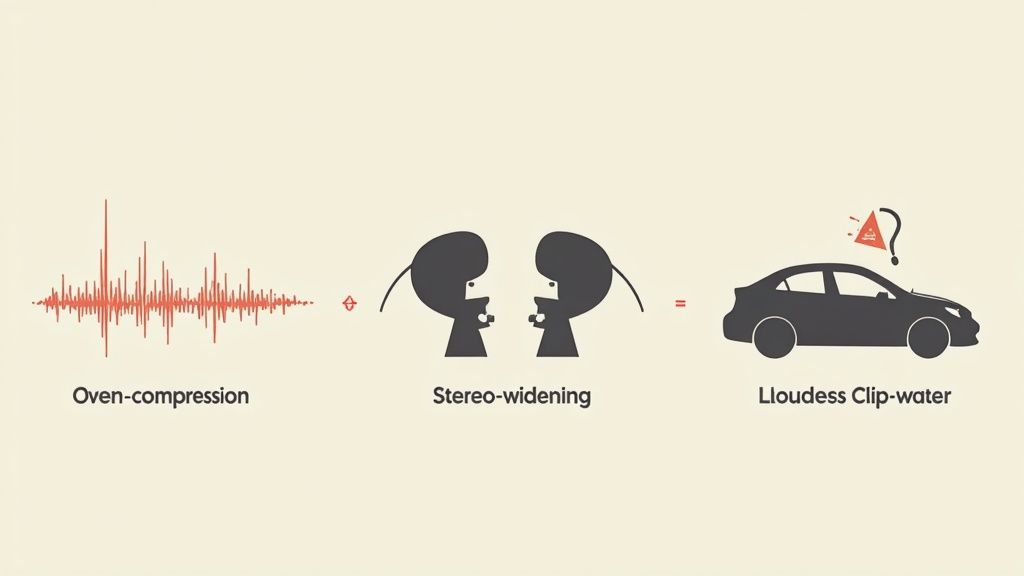
Knowing the most common pitfalls is half the battle when you're trying to get a master ready for the car test. I’ve seen so many producers fall into the same traps, ending up with something that slams in the studio but just sounds draining or weak on the road.
One of the biggest culprits? Over-compression. In that endless chase for loudness, it’s just too easy to squash all the life out of your track. Sure, it might seem to hit hard for a second, but that complete lack of dynamic range makes for a really fatiguing listen on a long drive.
Another classic mistake is going way overboard with stereo widening. Look, I get it. That wide, immersive sound is super tempting on headphones, but it often backfires spectacularly inside a car.
Excessive widening can create gnarly phase issues that leave your mix sounding thin, disconnected, and just plain weak when it's pumping through asymmetrically placed car speakers. The powerful center image—where your kick, snare, and vocals live—gets completely lost in the sauce.
The goal is a master that’s punchy and enjoyable, not just loud and wide. A car-ready master needs a strong, mono-compatible core to maintain its power and clarity in a less-than-perfect listening environment.
Instead of chasing gimmicks, it's about nailing the fundamentals. Here’s what I focus on:
By sidestepping these all-too-common errors, you’re setting yourself up to create a master that actually translates where it counts.
When you're trying to get a master just right for car speakers, a few questions always seem to surface. Let's dig into some of the most common ones I hear, so you can finish your track with total confidence.
One hundred percent, yes. A car cabin is a completely different animal than a pair of headphones clamped to your ears. You're fighting against ambient road noise, strange reflections from glass and plastic, and speakers that are almost never in the ideal spot.
This means a master tailored for the car usually needs a tighter, more controlled low-end. The mid-range often needs a bit more presence to cut through the engine's drone, and you absolutely have to check your mono-compatibility. A super-wide master that sounds amazing on headphones can completely fall apart in a vehicle, leaving you with a hollow, gutless track. The name of the game is translation, not making one version that's perfect everywhere.
There's no single magic number here. While most streaming services aim for an integrated loudness somewhere between -14 and -9 LUFS, that's only part of the story for car playback. It's way more important to focus on how loud the track feels and whether it still has some dynamic life left in it.
A master slammed to the absolute limit might seem impressive, but it often turns into a distorted, fatiguing mess on consumer car stereos. You're looking for a sweet spot—a balance where the track has punch and clarity but isn't completely squashed. It needs room to breathe.
This is a classic problem, but you've got a few solid options. The simplest one? Just ask a friend or family member if you can borrow their car for 15 minutes. Seriously, it's a small favor that can make a massive difference in your quality control.
If that’s a no-go, you can lean on some pretty impressive car audio simulation plugins. Tools like Sonarworks SoundID Reference or Acustica Audio's Amber do a fantastic job of mimicking a car's unique frequency response. It's not a perfect replacement for a real-world test drive, but it'll definitely help you catch any glaring problems right from your studio chair.
Ready to create a master that sounds incredible everywhere, especially in the car? CarMaster is the AI-powered mastering service built specifically to solve these problems. Get your free, instant preview and hear the difference. Protect your song from sounding bad in the car by visiting https://www.carmaster.io.

.png)