
Let's get one thing straight: a compressor is for shaping your sound and giving it character, while a limiter is a brick wall designed to maximize loudness. They both rein in dynamics, sure, but think of a compressor as a versatile sculpting tool and a limiter as a high-stakes security guard for your audio peaks.
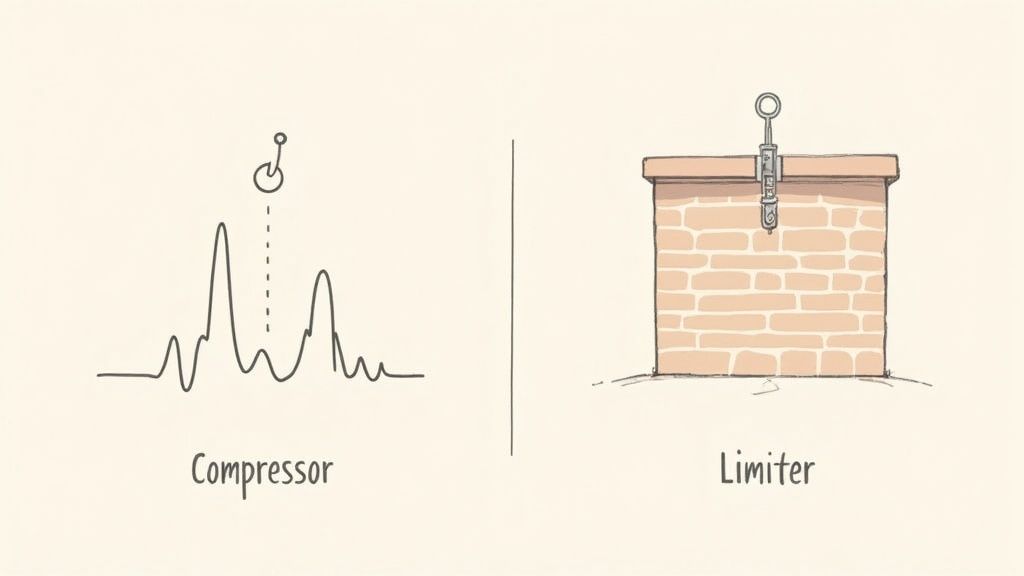
Here's a little secret: a limiter is really just a compressor with an attitude problem. Seriously. Both tools work by reducing an audio signal’s dynamic range—that gap between the loudest and quietest moments. But what you do with them in a mix is a completely different story.
You reach for a compressor when you want to get creative. Its job is to shape a sound, inject some punch, or glue different parts of a mix together. You might slap one on a vocal to make sure every last whisper is heard or put it on your drum bus to make the whole kit hit like a single, powerful unit.
A limiter, on the other hand, is all business. Its primary job is technical: to create an absolute ceiling that no audio peak can smash through. This is absolutely critical in mastering, where you need to push the overall level of a track for commercial loudness without letting it turn into a distorted, clipped mess.
The classic way to tell these two apart has always been by looking at the ratio and threshold settings. Compressors usually live in the lower-ratio world (think 2:1 up to 10:1) for a gentler squeeze, while limiters go for the nuclear option (10:1 to infinity) to act as that hard safety net. If you want to dive deeper, you can explore how different compressor-limiter market trends reflect their specific applications in modern production.
To really nail down the "limiter vs compressor" debate, a quick side-by-side comparison makes everything crystal clear.
Ultimately, one is for art, the other is for science. A compressor gives you nuanced control to bring out the best in an instrument, while a limiter is the final, non-negotiable step that ensures your track is loud and clean for the whole world to hear.
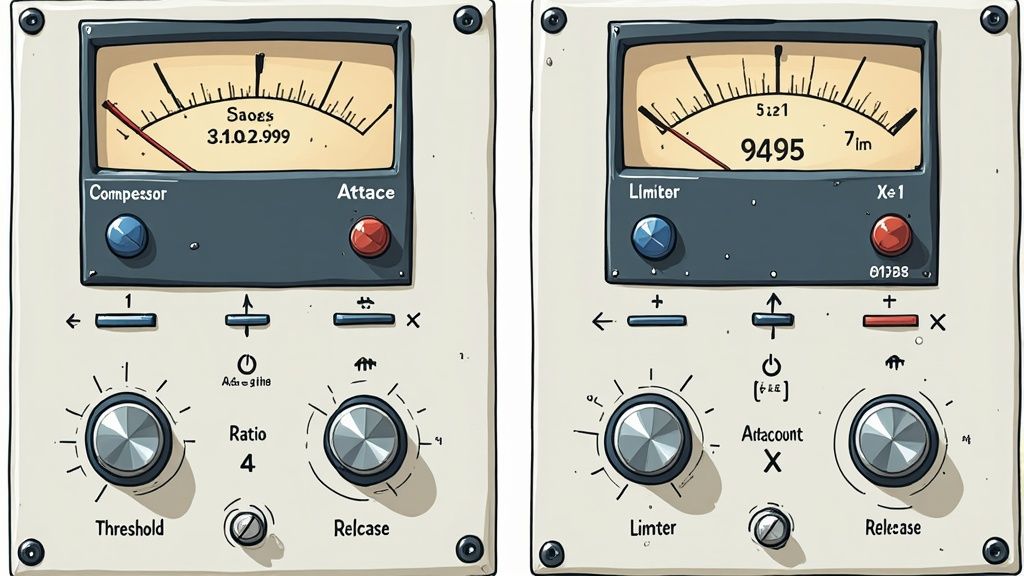
While a limiter is technically a type of compressor, they’re set up for completely different gigs. Getting a grip on how their core parameters—like threshold and ratio—are used is the key to picking the right tool for the job.
For both tools, the threshold is the line in the sand. It’s the decibel level your audio has to cross before anything happens. Think of it like a tripwire.
With a compressor, you’ll typically set the threshold pretty low. The goal is to catch a good chunk of the signal to gently smooth out the dynamics of a vocal performance or give a bass guitar some extra sustain.
A limiter, on the other hand, lives at the very top of your meter. You set its threshold high, right up against 0 dBFS (decibels full scale). It's not there to shape the sound; it's a bodyguard meant to catch only the absolute loudest peaks that could cause nasty digital clipping.
The ratio decides how hard the processor clamps down once the signal crosses that threshold. This right here is the biggest technical difference between the two.
Compressors use more gentle, musical ratios. It's all about transparent control.
Limiters are the opposite of subtle. They're all about brute force. Their ratios usually start at 10:1 and go all the way up to ∞:1 (infinity-to-one). That infinity setting is what we call a “brickwall”—any signal that tries to go over the threshold gets slammed flat. It creates an unbreakable ceiling.
A compressor gently negotiates with your audio peaks, while a limiter issues an absolute, non-negotiable command. This distinction in ratio defines their roles in mixing and mastering.
For a more detailed breakdown of these settings, our guide on what a compressor does in music really gets into the weeds on how to use them.
Attack tells the processor how fast to react, and release tells it how long to hang on before letting go. A limiter needs to be lightning-fast. We're talking an attack time often under 1 millisecond to zap transients before they have a chance to clip.
Compressors give you a much wider palette. You can dial in a slower attack to let the initial crack of a snare drum "poke through" before the compression kicks in, which is crucial for preserving punch and impact.
Here’s a cool trick many digital limiters have up their sleeve: lookahead. It’s a feature you almost never see on a standard compressor. This bit of tech lets the limiter see into the future, analyzing the audio a few milliseconds before it actually hits.
By getting that sneak peek, a limiter can react with perfect timing. It applies the gain reduction at the exact moment it's needed, preventing distortion on the transient. This is the magic that makes modern mastering possible, letting you get your tracks loud and clear without introducing unwanted artifacts.

Forget the technical jargon for a second. The real heart of the "limiter vs. compressor" debate comes down to what you can hear. These tools aren't just volume knobs; they fundamentally change the texture, feel, and energy of your audio. Each one leaves its own distinct sonic footprint.
A compressor is more of an artist's brush, used to sculpt sound and inject personality. With the right touch, you can take a flat, boring recording and make it breathe, punch, and groove. It’s the secret sauce for making music feel alive.
Think about it: a compressor is what gives drums that hard-hitting punch, glues a mix together so it feels like a cohesive performance, or gives a bassline that smooth, unwavering foundation.
When you drop a compressor on a drum bus, you're doing more than just taming peaks. By setting a slower attack time, you let the initial thwack of the snare or kick drum slice through the mix before the compressor kicks in and pulls the body of the sound down. The result? Drums that feel way more impactful and aggressive.
But then comes the release. As the compressor lets go, it brings up the quieter parts of the signal—the room's ambiance, the shimmering decay of the cymbals, the subtle resonance of the drum shells. This gentle "breathing" is what engineers call glue. It’s the magic that makes a bunch of separate tracks feel like a single, unified performance.
A compressor is audible by design. It's meant to be felt. It adds a "sound" to your mix—a character that can range from subtle smoothing to aggressive, pumping energy.
A modern limiter, on the other hand, wants to be invisible. Its job is to be a transparent, unbreakable ceiling for your audio. You shouldn't really hear it working; you should just notice that your track is louder without distorting.
A limiter is the final security guard at the exit, making sure no stray peak gets past and causes ugly digital clipping. This is especially true for hard limiters, which provide absolute protection. The growing global market for hard limiters shows just how critical this role is in professional audio. You can dig into some of the market trends and data over at wiseguyreports.com.
Now, if you push a limiter too hard, its effect becomes painfully obvious. The audio sounds squashed, lifeless, and flat because you’ve completely shaved off all the dynamic peaks. The real art is setting the threshold just high enough to catch only the loudest, quickest transients, letting you boost the overall level while keeping the track's natural dynamics intact.
Knowing the technical difference between a compressor and a limiter is one thing. Knowing exactly when to reach for each one is what separates a good mix from a great one. This is where all that theory gets put into practice.
Your decision really boils down to one question: Are you trying to shape the character of a specific sound, or are you trying to control the absolute final volume of the entire song? One is about creative shaping, the other is pure technical control.
When you're deep in a mix, working on individual elements like vocals, bass, or drums, a compressor is going to be your go-to tool. The goal here is almost never just about preventing clipping—it's about adding vibe, punch, and consistency.
Take a lead vocal, for instance. It's naturally going to have a huge dynamic range. A compressor with a moderate ratio, maybe around 4:1, and a carefully dialed-in threshold will smooth out that performance. It ensures the quieter, breathy parts don't get lost in the mix while the loud, belted notes don't jump out and feel aggressive. This is dynamic shaping, not just peak prevention.
The same idea applies to just about any other instrument:
Use a compressor when your goal is to artistically shape the dynamic character of a track or group. Think of it as your tool for adding punch, glue, and consistency.
Once all your individual tracks are mixed and balanced, the limiter finally gets its moment to shine. Its role is almost exclusively on your main mix bus or in your mastering chain. The objective completely shifts from creative shaping to making sure your track meets commercial loudness standards without distorting.
There's a reason a brickwall limiter is the very last thing in your signal path. You set its ceiling just a hair below 0 dBFS (a setting like -0.3 dBFS is common) to create an unbreakable barrier that no audio peak can ever cross. By pushing the input gain into the limiter, you raise the overall volume of your entire track, making it competitively loud for Spotify, Apple Music, and other platforms. This is a non-negotiable step in any professional audio mastering chain.
The critical role these tools play in modern production is undeniable. Their widespread use in studios across the globe has fueled steady growth in the audio processing market, proving just how essential they've become. If you're curious, you can dig into the trends in the compressor-limiter market to see the data for yourself.
At the end of the day, you bring in a limiter when all the creative work is done. Your final goals are loudness and peak protection, period. It’s the final guard at the gate, ensuring your song is clean, powerful, and ready for the world to hear without any nasty digital distortion.
Mixing can feel like navigating a maze of knobs and meters. You need a quick, reliable way to decide which dynamic processor to reach for. This two-question framework will guide you every time.
Start with intent: What Is My Primary Goal? Are you sculpting character and punch, or simply curbing the loudest peaks to push overall volume? This one question solves the puzzle in over 90% of cases.
Next, ask: Where Am I Applying This? Is it on an isolated track or the master bus? Context matters just as much as intent.
“Overusing limiters on every track flattens your dynamics—reserve them as your final safety net.”
With these two questions answered—goal and context—you’ll banish uncertainty and choose the right tool with confidence.
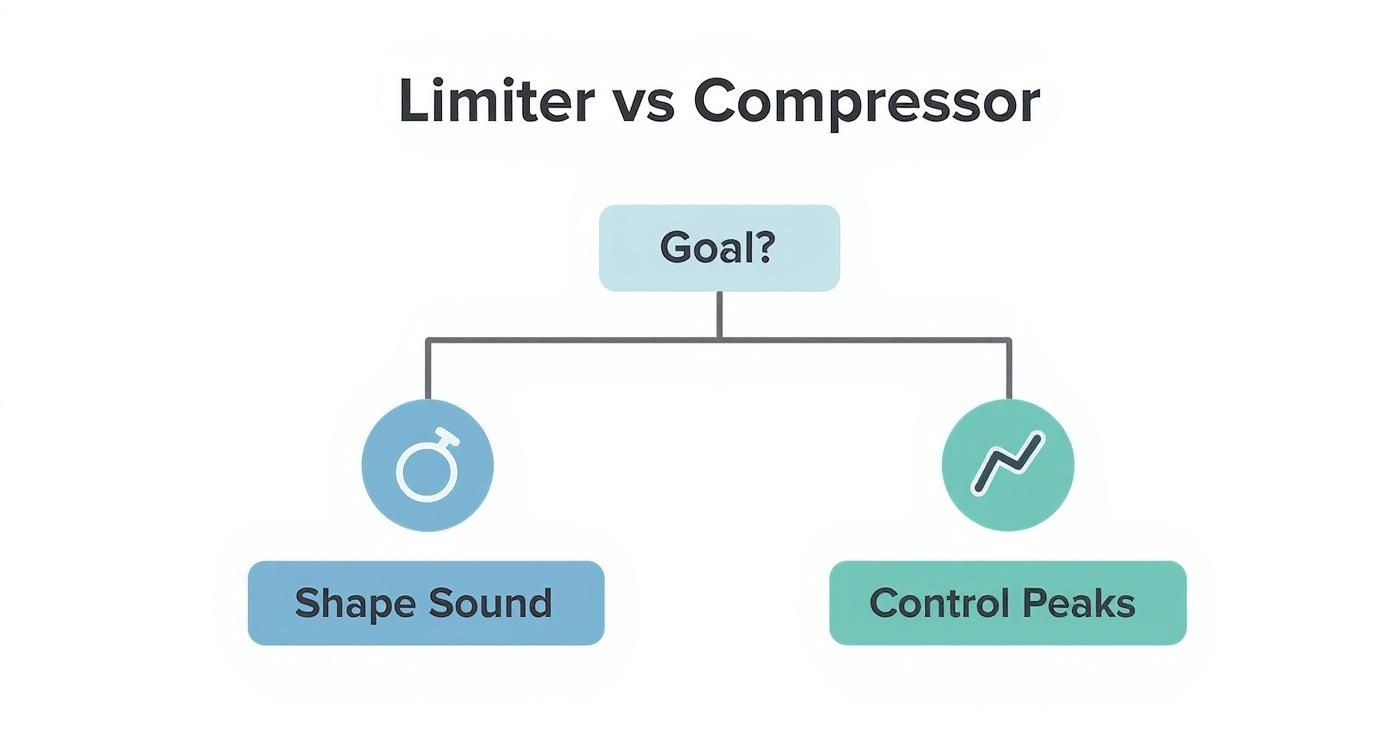
This decision tree lays out the path from your initial intent to the final choice. It starts by splitting “Shaping Sound” from “Controlling Peaks,” then points you toward the right processor based on whether you’re working on a single element or your entire mix.
Having this visual guide on hand means no more second-guessing under pressure. Follow the flow: define your goal, identify your context, then dial in the right processor.
For a deeper dive on setting that ceiling correctly, check out our guide on professional audio mastering levels.
With this framework in your toolkit, you’ll spend less time debating settings and more time crafting great-sounding mixes.
Even after you get the hang of the basics, some questions always seem to pop up. Let's tackle a few of the most common ones I hear from engineers to clear up the confusion and help you avoid some classic mixing mistakes.
Technically, yes. If you crank a compressor's ratio up to 10:1 or, even better, all the way to ∞:1 (infinity) and set a lightning-fast attack time, it'll start behaving like a limiter. It’s going to slam down hard on anything that tries to sneak past the threshold.
But here’s the thing: just because you can doesn't mean you should, especially for mastering. A dedicated limiter plugin is almost always the right tool for the job.
Modern limiters are built from the ground up for transparency and precision. They have specialized tools most compressors just don't, like lookahead, which lets the plugin see peaks coming before they hit. They also often feature true peak detection to catch nasty inter-sample peaks that can cause distortion on playback. Trying to master with a standard compressor is a bit like using a hammer for a screw—it might work in a pinch, but it's messy and you'll get much better results with the proper tool.
A compressor can act like a limiter in a pinch, but a purpose-built limiter offers the surgical precision and advanced features needed for transparent, professional mastering.
Hard no. Slapping a limiter on every single track is a rookie move that will suck the life right out of your mix. When you shave off all the dynamic range from every instrument, you're left with a sound that's flat, lifeless, and has zero emotional impact. The punch is just gone.
Compressors are what you want for individual tracks like vocals, drums, and bass. You use them to shape the sound, add some color, and control the dynamics in a musical way—not just to cap the level.
Save your limiters for strategic spots, like on a drum bus to glue it all together or, most importantly, on the final master bus. At that final stage, your goal isn't really creative shaping anymore. It's about maximizing the overall loudness and creating that bulletproof safety net to prevent any digital clipping. Think of it as the final coat of polish, not the sandpaper you use on the raw wood.
A brickwall limiter is exactly what it sounds like: the most extreme, unforgiving type of limiter you can find. It’s defined by two key things: a virtually instantaneous attack time and a true infinite ratio (∞:1).
Its entire job is to create an absolute, unbreakable ceiling that the audio signal cannot cross, no matter what. It’s the final word.
This is why you'll find them in every mastering and broadcast studio. When preventing digital clipping is non-negotiable, you bring in the brickwall. It acts as an invisible wall right below 0 dBFS, guaranteeing your track meets technical standards and hits maximum loudness without a hint of audible distortion.
Ready to master your music for any sound system? CarMaster is the only AI mastering service purpose-built to make your tracks sound incredible in the car while translating perfectly everywhere else. Get a free, instant preview and hear the difference at https://www.carmaster.io.

.png)