
Think of an audio frequency chart as a visual map of everything you can possibly hear. It lays out the entire spectrum of sound, from the deepest rumbles that shake your chest to the highest, barely-there shimmers. This map plots frequencies from 20 Hertz (Hz) on the low end all the way up to 20,000 Hertz (20 kHz) on the high end, showing you exactly where different instruments and sounds "live."
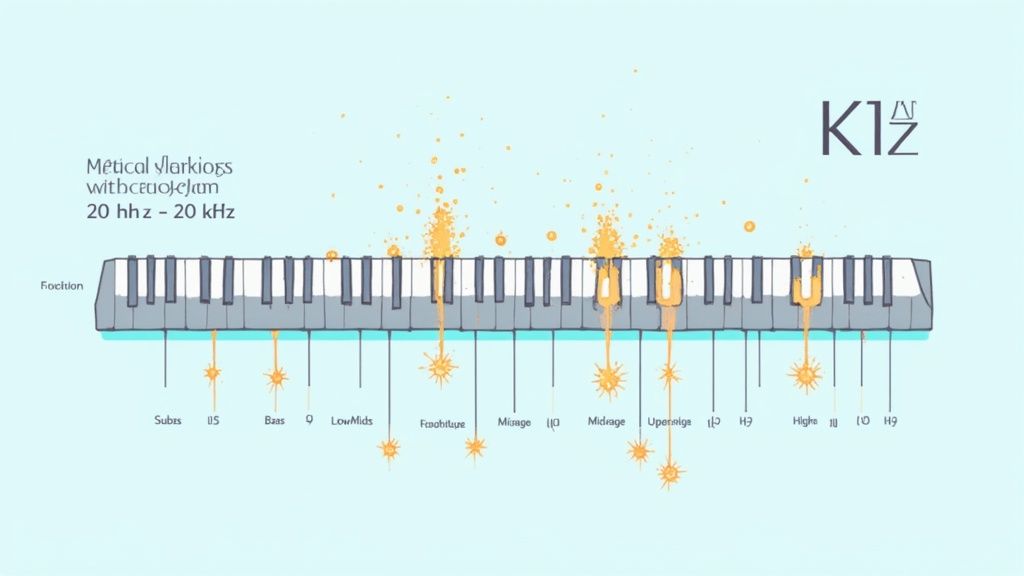
The easiest way to picture it is to imagine a piano keyboard stretched out to its absolute sonic limits. Over on the far left, you have the low keys pumping out deep, resonant notes you feel more than you actually hear. Move to the far right, and the high keys create those bright, airy tones that add sparkle and life. This chart takes every sound imaginable and organizes it along that same left-to-right spectrum.
Instead of musical notes like C or F#, this map uses Hertz (Hz). It’s simply a unit that measures vibrations, or cycles, per second. That deep bass note vibrating 30 times a second is 30 Hz. A crisp cymbal ringing out at 15,000 times a second is 15 kHz. Getting this one concept down is the first real step to getting a handle on mixing.
That specific range isn't just some random number; it represents the scientifically accepted limits of human hearing. The whole chart is built around what our own ears can perceive, covering roughly ten octaves of sound.
It's also set up on a logarithmic scale, meaning each octave doubles in frequency (think 40 Hz, then 80 Hz, then 160 Hz). This setup perfectly mirrors how our brains actually process changes in pitch. It’s not a straight line; it’s a curve, just like our hearing. You can see how this all breaks down in this detailed audio study.
Having this map is a game-changer for anyone working with audio because it lets you:
An audio frequency chart isn't just a technical diagram—it's your creative guide. It translates the abstract idea of "sound" into a tangible roadmap, giving you the power to make sharp, confident decisions with your audio.
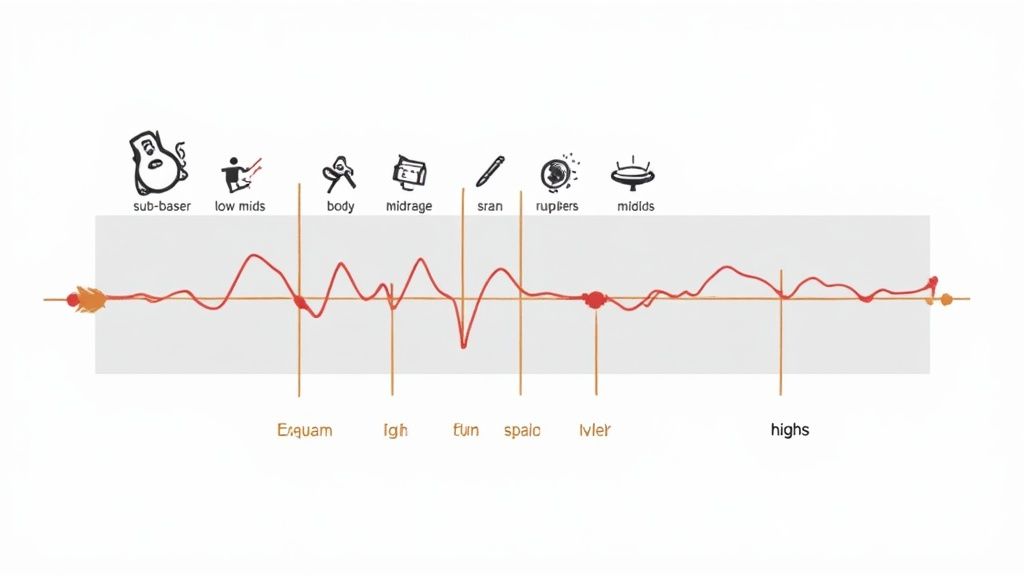
Before we get into the nitty-gritty, let's break this whole landscape down into its main territories. Every sound you hear is just a big cocktail of these different frequency bands. The secret to a great mix is simply knowing how to balance them. Your main tool for the job is an equalizer, or EQ, which is designed to turn these bands up or down. If you're new to that, our guide on what an EQ does in audio production will get you up to speed.
For now, here’s a quick summary of the core frequency zones and the words engineers use to describe their sonic character.
Getting familiar with these bands and what they do is the foundation. Once you know them, you can start shaping sound like a pro.
To really get a handle on mixing, you’ve got to know the sonic landscape where every sound lives and breathes. An audio frequency chart is basically a map of that landscape. It divides everything up into distinct regions, and each one has its own vibe, its own job, and its own set of potential problems.
Think of it like exploring a city. You've got the deep, rumbling subway system underground, the bustling streets where all the action happens, the clear skyline, and the open air way up above.
We're going to walk through the six essential frequency bands, starting from the lowest rumbles and working our way up to the highest shimmers. For each one, I’ll break down what you’re hearing, which instruments hang out there, and how to fix common issues with a few simple EQ moves. This is your field guide to navigating any mix with confidence.
This is the absolute bottom floor of your audio, hanging out between 20 Hz and 60 Hz. You don't really hear the sub-bass range with your ears so much as you feel it in your chest. It's that deep, seismic rumble from a movie explosion or the earth-shaking drop in a trap beat.
When this range is right, it gives a track a sense of power and scale that you can physically feel. But man, is it easy to get wrong. Most regular headphones and speakers can't even reproduce these frequencies, which leads a ton of producers to make some disastrous mixing calls.
The biggest issue down here is way too much uncontrolled energy, which turns a mix into a muddy, undefined mess. This happens when sounds that have no business being this low bleed all over the place.
Common Problems and Solutions:
Moving up a bit to the 60 Hz to 250 Hz range, we find the bass. This is where music gets its weight and rhythmic drive. It’s the punch of the kick drum you feel in your chest and the warm, full body of a bass guitar. This band is what makes a track sound satisfying and full.
If the sub-bass is the concrete foundation, this is the first floor built right on top. Nailing the relationship between the kick and the bass in this zone is one of the biggest challenges in mixing. Too little, and your song sounds thin and weak. Too much, and it's a boomy, indistinct mess.
This frequency range is where the energy and groove of a song truly live. A well-balanced bass region makes you want to move, providing the core power that drives the entire track forward.
Welcome to the low-midrange, from 250 Hz to 500 Hz. This is probably the trickiest part of the entire frequency chart. It's a total double-edged sword. On one hand, it’s where you find the body and warmth of so many instruments—the fullness of a male vocal, the thickness of a distorted guitar, the beefiness of a synth.
On the other hand, this is the birthplace of "mud." Too much energy piled up here creates that dreaded "boxy" or "cardboard" sound, making your mix feel congested and unclear. It's the audio equivalent of too many people trying to shout over each other in a small room.
Honestly, a huge percentage of mixing problems can be traced right back to this region. Learning to tame it is a massive step toward getting pro-sounding tracks.
Common Problems and Solutions:
From 500 Hz to 2 kHz, we're in the midrange—the absolute heart of your mix. Our ears are naturally tuned to be most sensitive to these frequencies because it's where the core information in human speech is. It’s no surprise, then, that this is the range that gives instruments their main definition and clarity.
This is the "crack" of the snare drum, the main melodic body of a piano, and the part of a vocal that makes the lyrics easy to understand. If you want something to be front and center, it needs a healthy presence here. A little boost can make an instrument jump out of the speakers, but overdo it and you get that nasty "honky" or nasal sound, like someone talking while pinching their nose.
Now we're in the upper-midrange, from 2 kHz to 4 kHz. This band is all about presence, attack, and edge. It’s the crisp snap of the snare, the percussive click of a guitar pick against the strings, and the consonants in a vocal that make the words cut through.
This is the "in-your-face" frequency. If a vocal feels like it's buried in the mix, a gentle boost right here can pull it forward immediately. But be careful. This is a powerful spot, and even a tiny bit too much can make a track sound harsh, aggressive, and just plain tiring to listen to. A delicate touch is key.
Finally, we've arrived at the high frequencies, stretching from 4 kHz all the way up to 20 kHz. This is the realm of sparkle, sizzle, and air. It’s the shimmer of cymbals, the breathiness in a vocal, and the delicate harmonics that give a sound its sense of space and dimension.
This band is what often makes a mix sound "expensive" and polished. Adding a little energy up here can open up a track and make it feel bright and airy. The very top end, what we often call "air" (think 12 kHz and up), can add a beautiful, silky texture.
But just like the upper-mids, this area can be dangerous. Too much boost, especially between 5-8 kHz, is how you get sibilance—that piercing "sss" sound on vocals. Overdo it, and the whole mix will sound brittle and harsh. It's all about finding that perfect balance between brightness and smoothness.
Picture a busy city intersection during rush hour. If the traffic lights fail, you get instant chaos. Cars block each other, horns blare, and nothing moves. A crowded audio mix is exactly the same—instruments and vocals fight for space, creating a muddy, undefined sound. Your audio frequency chart is the traffic control system, giving you the power to assign a clear lane to every element.
This is the moment theory becomes a real-world mixing skill. When you understand where each instrument "lives" on the spectrum, you can make surgical EQ decisions. Instead of guessing, you can carve out pockets of space, letting each sound shine through with total clarity. The goal is to create a wide, spacious mix where every part is heard, not a congested blob of noise.
This process is often called "frequency slotting," and it's the absolute key to achieving that professional separation you hear on records. It’s how you make sure the kick drum and bass can coexist powerfully, and a lead vocal can slice through a wall of guitars without sounding thin or harsh.
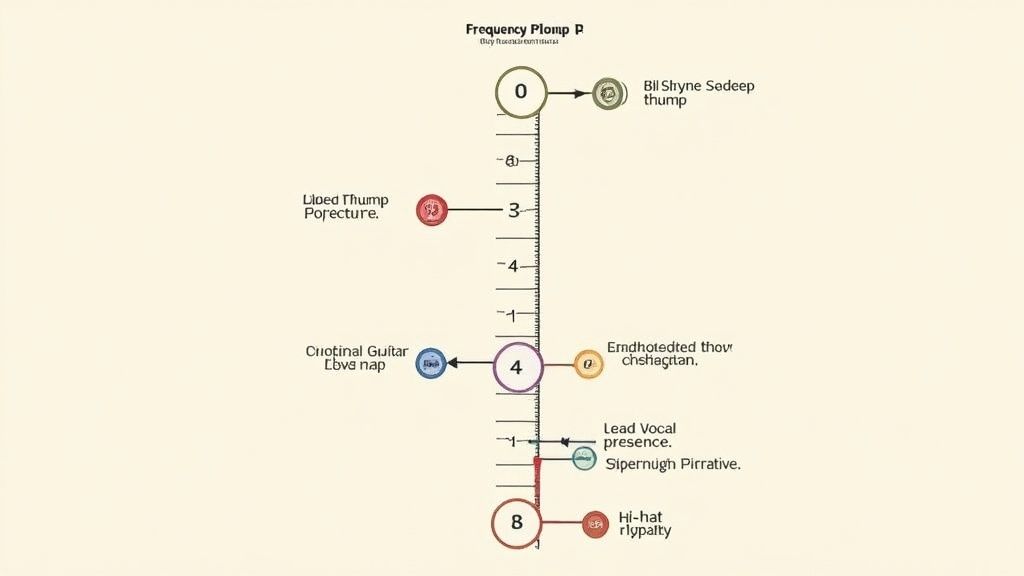
To make this practical, here’s a quick reference table. Think of this as your starting point for cleaning up a mix. Use it to find where an instrument's core energy is and where you might need to make cuts to let something else breathe.
Remember, these are guidelines, not rules. Every instrument and every recording is unique, so always trust your ears first.
The relationship between your kick and bass is the foundation of your entire track. Get it wrong, and the whole song feels weak. They both occupy the low end of the spectrum, making them natural competitors for the same sonic real estate.
To make them play nice, give each one its own turf. A classic move is to boost the kick at 80 Hz while making a small, corresponding cut in the bass at that exact frequency. On the flip side, you could boost the bass's low-mid character around 200 Hz and scoop a little out of the kick in that same spot. This creates a "puzzle piece" fit where they slot together instead of fighting.
Think of it this way: The kick gets the punchy, sub-bass impact, while the bass gets to own the warm, sustained low-mid frequencies. This simple separation is one of the most powerful moves you can make in a mix.
The midrange is where most of the melodic and harmonic action happens. Electric guitars, acoustic guitars, pianos, and synths all have their core identity right in the middle of the spectrum. Without careful management, this area turns into a muddy mess in a hurry.
Here's a general roadmap:
The strategy here is all about give-and-take. Identify the most important frequency for each instrument's character, give it priority, and then gently pull back those same frequencies in competing instruments.
Of everything in your mix, the human voice is what listeners connect with most. It has to be clear, upfront, and intelligible. While a vocal's power comes from the midrange, specific frequencies control how it's perceived.
The "body" of a vocal sits in the low-mids, around 200-400 Hz. Too much here and it sounds muddy; too little and it sounds thin. But the most critical area for intelligibility—making the words easy to understand—is the upper-midrange, from 2-5 kHz. This is the "presence" range.
A small, tasteful boost in this presence zone can make a vocal leap out of the speakers and sit perfectly on top of everything. Be careful, though—this is also where harshness lives, so a delicate touch is crucial. For a deeper look, our guide on how to EQ vocals provides targeted strategies for getting that polished, professional sound.
Okay, you've got the map—the audio frequency chart. Now it's time to actually drive the car. Taking that knowledge into your Digital Audio Workstation (DAW) is how you turn a muddy, cluttered mix into something that sounds polished and professional. This is where we stop talking theory and start getting our hands dirty with an Equalizer (EQ).
Think of an EQ as a set of super-precise volume knobs. But instead of turning the whole track up or down, each knob controls a specific slice of the frequency spectrum. Your two main moves are cutting frequencies to clean things up and boosting them to add some flavor. Knowing when to do which is the secret sauce to a great mix.
If there's one golden rule of EQ, it's this: "cut before you boost." This approach, called subtractive EQ, is all about carving away the bad stuff to make room for the good. Got a vocal that sounds muddy? Before you even think about boosting the highs to make it brighter, try cutting the low-mid gunk around 250-400 Hz. More often than not, that one move cleans it right up without making anything sound harsh.
Additive EQ is the fun part—it's about enhancing what’s already working. After you've cleaned up the track, you might go back to that vocal and add a little boost to the "air" band (12 kHz and up) to give it that silky, expensive-sounding shimmer. Think of it like this: subtractive EQ is cleaning the canvas, and additive EQ is painting the highlights.
Here’s a quick cheat sheet for when to reach for each one:
Use Subtractive EQ to:
Use Additive EQ to:
When you open up a parametric EQ, you’ll see three main controls for every band: frequency, gain (how much you cut or boost), and Q. The Q, or "quality factor," is what controls the bandwidth—basically, how wide or narrow your adjustment is. It's the difference between broad, musical shaping and surgical problem-solving.
A low Q value creates a wide, gentle curve that affects a big chunk of frequencies. A high Q value creates a super sharp, narrow spike or notch for hitting a very specific problem frequency.
This picture says it all. You've got a wide boost (low Q) for general tone shaping and a surgical cut (high Q) for getting rid of a problem.
That wide curve is your go-to for adding some general warmth or brightness. That super-narrow one? It’s perfect for notching out a nasty snare drum ring or a weird room resonance without messing with the instrument's overall character.
Beyond boosts and cuts, two of the most powerful tools in your EQ are high-pass filters (HPF) and low-pass filters (LPF). Think of them as your ultimate cleanup crew.
A high-pass filter does exactly what it sounds like: it lets the high frequencies pass through while chopping off the low end. This is your number one weapon against low-end mud. Seriously, almost every track in your mix (except maybe the kick and sub-bass) can benefit from an HPF to get rid of useless rumble that just eats up headroom.
On the flip side, a low-pass filter lets the lows pass while rolling off the highs. You can use this to tame cymbals that are way too harsh or to push a background synth pad further back in the mix by dulling its top end. It's amazing how far these tools have come; what used to require bulky hardware is now a click away in every DAW, complete with digital analyzers that let you see problem spots instantly. If you're curious, you can dive into the history of audio measurement on Pro Audio Encyclopedia. Using these filters properly is one of the fastest ways to make your mixes sound more defined and professional—period.
We’ve all been there. You spend hours, maybe even days, dialing in a mix until it sounds absolutely perfect in your studio. Then you take it for a spin in your car, and your heart sinks. The bass is a muddy mess, the vocals are buried, and some new, awful high-frequency sizzle is stabbing you in the ear.
It's a classic "translation" problem, and honestly, it’s one of the biggest hurdles every producer has to clear.
So, what gives? Every playback system is different, but car stereos are in a league of their own. They're often designed with a "smiley face" EQ curve, meaning the super low and super high frequencies are jacked up to make things sound more "exciting" at lower volumes. When your carefully balanced mix hits that EQ, all hell breaks loose.
This is where your audio frequency chart becomes your secret weapon. You can start to anticipate these problems before you even leave the studio. The biggest offenders are almost always at the extreme ends of the spectrum.
The goal isn't to make a mix that only sounds good in your treated room. It's to craft a balanced master that can survive out in the wild. If it only works on one system, the mix isn't done. For a deeper dive into this specific headache, check out our guide on why your song sounds bad in the car.
Getting your mix to translate means you have to stop trusting just one source. Get out of your headphones! Bounce a version and listen to it on your laptop speakers, on cheap earbuds, and, of course, in your car. Take notes. Does the kick disappear on your laptop? Does the hi-hat get shrill in the car? Go back and adjust.
One of the oldest tricks in the book is also one of the best: check your mix in mono. Collapsing your mix down to a single channel is a truth serum for your audio. It instantly exposes phasing issues and frequency clashes you'd never hear in stereo. If your kick and bass suddenly get weak or your wide guitars sound thin and hollow, you've got phasing problems to sort out.
Another game-changer is using reference tracks. Find a professionally mixed and mastered song in your genre—one you know sounds amazing everywhere. A/B test it against your mix on every system you can. How does your low end compare? Is their vocal as clear and present? This gives you an objective target to shoot for.
For those serious about mastering these skills, pursuing a formal education like an Access to HE Diploma in Music Technology can provide a rock-solid foundation in these more advanced techniques. At the end of the day, a translatable mix is all about finding that perfect middle ground—a robust, balanced sound that holds its own, no matter where it's played.
To really lock this stuff in, I’ve put together a high-resolution, printable audio frequency chart just for you. It’s a handy reference that sums up all the key info from this article — frequency bands, where instruments live, and all those sonic descriptors we've been talking about. The idea is to give you a quick visual cheat sheet so you can make faster, more confident EQ moves in the heat of a mix.
This whole idea of standardizing charts isn't new. Way back in 1952, the Recording Industry Association of America (RIAA) adopted a standard curve, which was a huge deal. It meant frequency response charts could be consistent everywhere, allowing engineers to calibrate their gear for accurate playback, no matter the record or system. It's a fascinating bit of audio history, and you can dive deeper into the evolution of record characterization on pspatialaudio.com if you're curious.
Think about how a track moves from your studio to the real world. It’s a translation game.
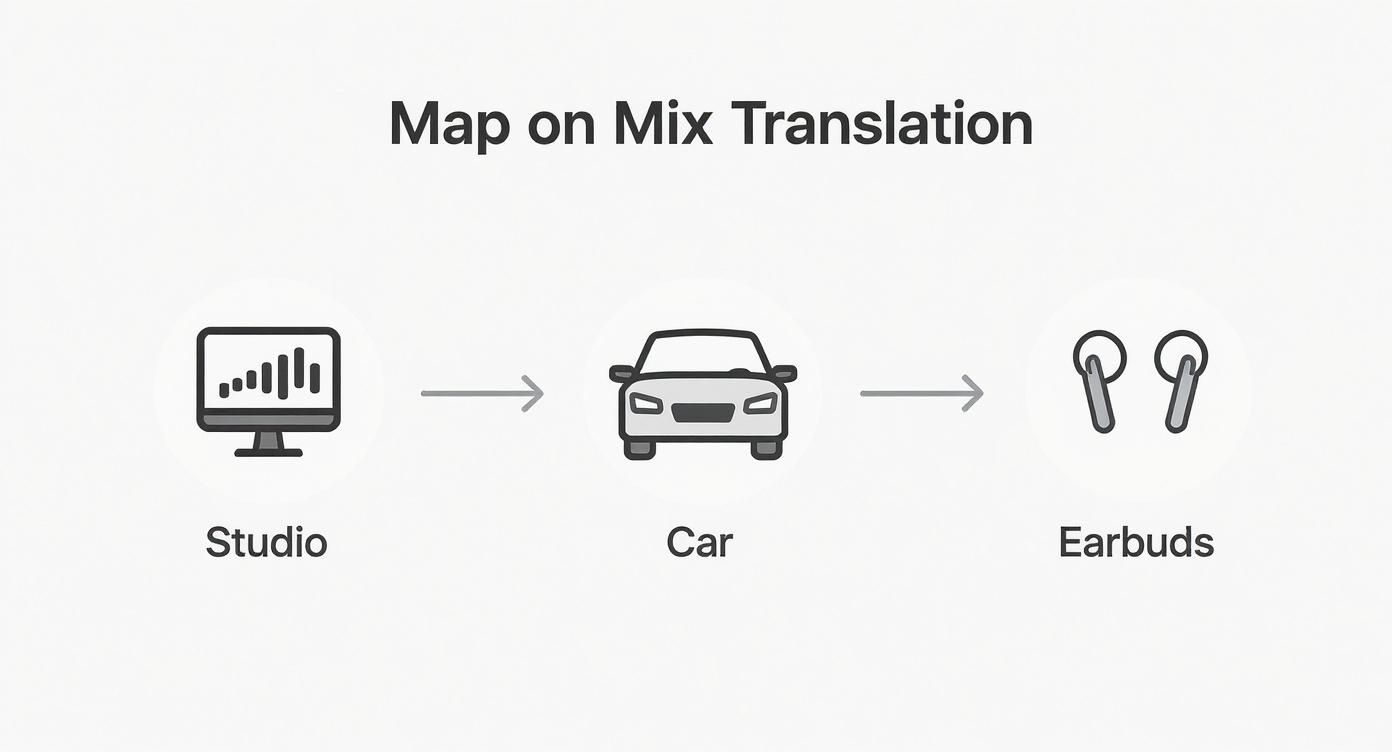
This process is exactly why checking your mix on different systems is so critical for getting a balanced master that sounds good everywhere. So go ahead, print the chart, tack it up on your studio wall, and let it be your guide long after you've finished reading this page.
Jumping from frequency charts to actually mixing a track brings up a ton of questions. It's totally normal. Let's walk through some of the most common hurdles producers run into and give you some straight answers to help you start mixing with more confidence.
If I had to pick one range that makes or breaks clarity, it's the upper-midrange, specifically from 2 kHz to 5 kHz. This is no accident—our ears are hardwired to be most sensitive right here. It’s where all the good stuff lives: the consonants that make vocals understandable, the attack of a synth pluck, and the crisp snap of a snare drum.
A tiny, careful boost in this zone can make a vocal or lead instrument feel like it's jumping right out of the speakers, sitting perfectly on top of everything else. But be warned, this area is powerful and needs a delicate touch. Go just a little too far, and your track will sound harsh, brittle, and just plain tiring to listen to. It’s all about finding that magic sweet spot.
Ah, the classic "muddy" mix. It's probably the number one complaint I hear, and nine times out of ten, the problem is hiding in the low-midrange (250 Hz to 500 Hz). This is where the fundamental warmth and body of almost everything—guitars, synths, vocals, you name it—tend to pile up and fight for space.
The quickest fix for mud is to think subtractively. Instead of boosting the highs to create a fake sense of clarity, grab an EQ and make small, surgical cuts in that 250-500 Hz range. Do this on instruments that don't need all that low-mid energy, like backing vocals or rhythm guitars. You're literally carving out space, and you'll be amazed at how much cleaner everything sounds instantly.
Absolutely. Ear training is a non-negotiable skill for any serious engineer, and you can totally learn to pinpoint frequencies without staring at an audio frequency chart. It's all about practice—using an EQ to consciously connect a specific sound character to its number in Hertz.
Here are a couple of simple ways to get started:
Stick with it, and soon you'll just know that a "boxy" kick needs a little dip around 400 Hz or a "nasal" vocal is calling for attention near 1 kHz. Your ears will become your most powerful mixing tool.
Ready to make sure your perfectly balanced mix translates flawlessly to the car? CarMaster is the only mastering service specifically designed to protect your song from sounding bad on automotive systems. Get a free, instant preview and hear the difference. Master your track for the car at carmaster.io.

.png)