
So you’ve just recorded what feels like the perfect vocal take.It’s powerful, it’s emotional, but when you hit playback, it just sounds… trapped. Small. Like it’s coming out of a cardboard box.
That soul-crushing "boxy" sound is one of the most common frustrations in home recording, and it almost always points back to one culprit: your room. Getting a handle on why this happens is the first real step to fixing it for good.
That stuffy, cardboard-like tone isn't just a random annoyance—it's pure physics. The problem is almost always the room you're recording in. Every single space has its own acoustic fingerprint, and the small, untreated rooms most of us work in are notorious for creating frequency nightmares.
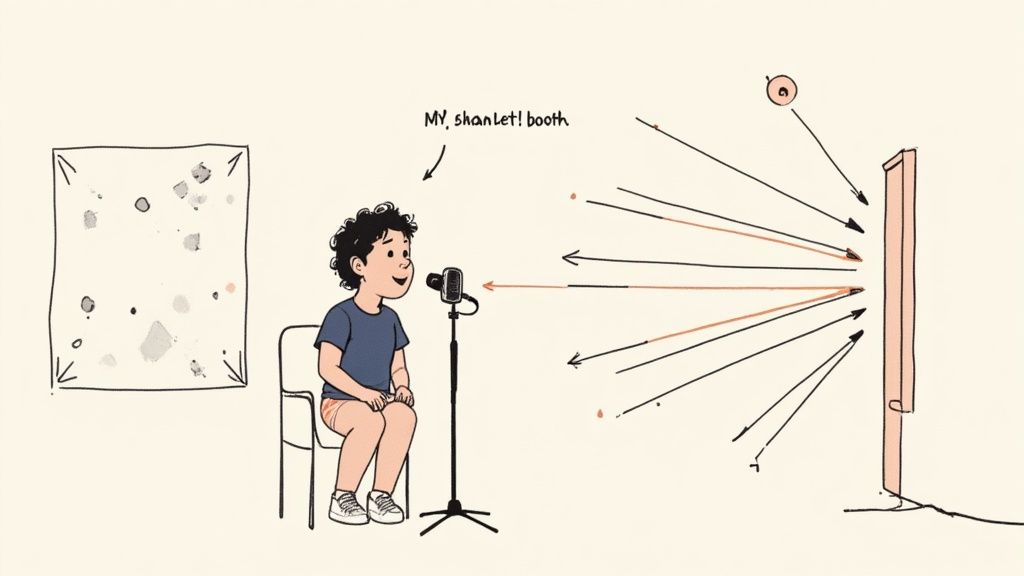
Here's the breakdown: when you sing, sound waves shoot out in all directions. In a typical bedroom or office, those waves smash into hard, parallel surfaces like drywall and ceilings. They don't just stop; they reflect and bounce back and forth, creating something engineers call standing waves.
These standing waves are the real villains. They cause certain frequencies to build up and resonate, making them way louder than everything else. For vocals, that buildup almost always happens in the low-mid frequency range, and that’s the sound of boxiness.
There’s a specific sonic neighborhood where boxiness lives and breathes. Most of the time, you'll find that muddy, closed-in sound is caused by too much energy somewhere between 250–900 Hz. It's a classic headache for anyone tracking vocals outside of a purpose-built studio.
This issue is especially common in home studios, which now account for over 60% of all music production setups. A lot of home producers throw up some thin acoustic foam thinking it'll solve the problem, but that stuff usually only absorbs frequencies above 2,000 Hz. It does absolutely nothing for the low-mids, leaving them to bounce around and build up into a resonant mess. If your vocal is also lacking clarity, you might want to check out our guide on what to do when your vocals sound muffled.
Don't just take my word for it. Research from the Acoustical Society of America has shown that small rooms (under 15 square meters) can increase the risk of these exact low-mid resonances by up to 300% compared to a properly treated studio. For more on this, the folks over at Waves.com also have some great insights on fixing boxy vocals.
Key Takeaway: Boxiness isn't a problem with your voice or your performance. It's an acoustic artifact created by your recording space. The sound literally gets trapped, over-emphasizing the frequencies that make the vocal feel contained and small—like it's stuck inside a box.
While the room is enemy number one, a few other things can pile on and amplify the issue:
When you hit a wall with boxy vocals, the first impulse is often to just yank down the low-mids with a wide EQ curve. It's a common mistake, but it usually just thins out the vocal, killing all its warmth and body.
The real fix is more about precision—using a parametric equalizer to perform surgical cuts that only take out the problem frequencies. You’re not trying to fundamentally change the vocal's character; you're just cleaning up the mud while keeping the natural tone you worked so hard to capture. Think of it less like demolition and more like careful sculpting.
Most of the time, that boxy sound is just a buildup of nasty room resonances that are clouding up the performance before it even gets to the mix.
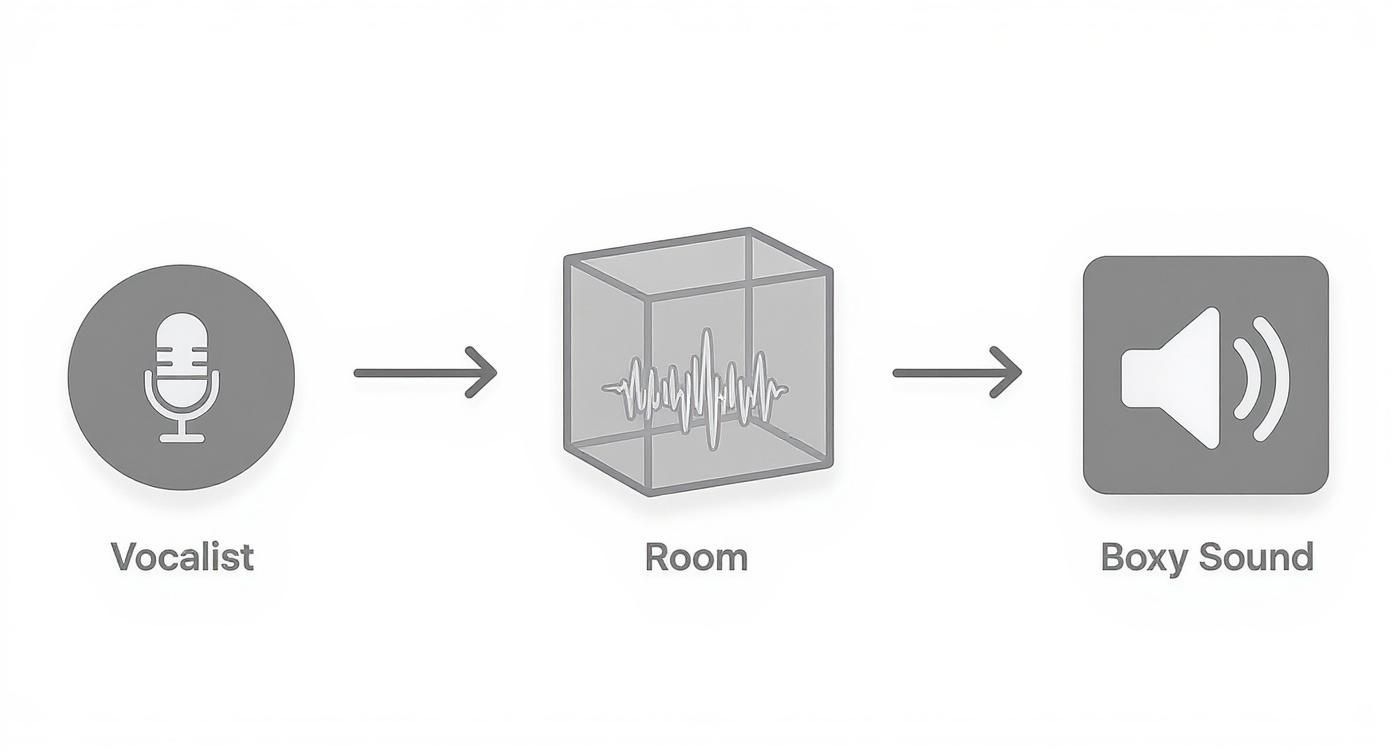
This is a great visual of what's happening—the room itself is coloring the sound, and our job is to clean that up.
The fastest and most effective way to hunt down the exact source of boxiness is the "sweep and identify" method. It’s a foundational skill every audio engineer needs. You’re essentially using an EQ band as a magnifying glass to find the frequencies that are causing the trouble.
Here’s how I do it:
Pro Tip: Your ears are your best tool here, not just a frequency analyzer. A visualizer can get you in the ballpark, but you need to trust what you hear. Constantly bypass the EQ to A/B test your changes. Is it actually better, or just different? The goal is a vocal that sounds clearer and more open.
If you find yourself dealing with multiple resonant peaks, it's almost always better to make two or three small, narrow cuts instead of one big, wide one. This surgical approach keeps the vocal sounding far more natural in the end.
To help you get started, here's a quick reference guide for the usual suspects when it comes to boxiness. Think of this as a map to help you know where to start your search.
While every voice and recording space is unique, these ranges are consistently where problems pop up.
Statistically, the most notorious danger zone is 300–500 Hz, with roughly 82% of engineers flagging this as the main source of boxiness. And it's not just a home studio problem—one analysis found that 48% of records tracked outside of major-label facilities needed EQ to fix this exact issue.
If you’re looking to go deeper into vocal processing, our complete guide on how to EQ vocals covers even more techniques to get your tracks sounding professional.
A static EQ cut is a powerful tool, but let's be honest—it’s a blunt instrument. When you carve out a frequency, it's gone for the entire performance. This can easily suck the life and warmth out of the notes that don't actually have that boxy buildup. It's a super common scenario where boxiness only pops up on certain words or sustained notes.
When a constant cut just feels too heavy-handed, dynamic processing offers a much more transparent and musical solution. Instead of just ripping frequencies out for good, these tools react to the audio in real-time, only applying the fix when and where it's needed. This lets you tame the problem without sacrificing the natural body of the vocal.
It's this kind of nuanced approach that really separates a good mix from a great one. The goal is to make the processing totally invisible, leaving the listener with nothing but a clear, powerful vocal.
A dynamic EQ is your secret weapon against inconsistent boxiness. Think of it as a smart equalizer that only cuts a frequency when it gets too loud. You can zero in on that troublesome spot—say, around 400 Hz—and tell the EQ to dip the gain only when the level of that frequency crosses a certain point.
Here’s a practical workflow to get it set up:
This technique is incredibly effective. The EQ band just chills out during the quieter, cleaner parts of the vocal, preserving all its natural warmth. But the moment the singer hits a note that excites that nasty room resonance, the EQ clamps down just enough to bring it under control.
This intelligent approach ensures you’re not thinning out the entire vocal track. You get all the clarity of an EQ cut with none of the collateral damage to the vocal’s body and tone.
Another fantastic tool for this job is a multi-band compressor. While a dynamic EQ is more surgical for hitting specific resonant peaks, a multi-band compressor is your go-to for taming a broader range of low-mid frequencies that create a generally congested or boxy sound.
You can set one band to cover the entire boxy region, typically from 300 Hz to 600 Hz. Then, just apply some gentle compression to that band alone. With a low ratio (think 2:1) and a fast attack, the compressor will subtly push down the low-mids only when they get a little too pushy, smoothing out the whole performance.
This method gives you consistent control and helps the vocal sit more evenly in the mix without ever sounding over-processed. And mixers are catching on. According to recent plugin sales data, the use of dynamic EQ and multi-band compression for this very task has jumped by 40% since 2018. It makes sense, as a global survey also found that 58% of producers spend a huge chunk of their vocal mixing time just fighting boxiness.
If you want to dive deeper into this technique, you can learn more about taming boxiness with multi-band compression on Audio Issues.
Fixing a boxy vocal in the mix is one thing, but stopping it from happening in the first place? That’s the real game-changer. Honestly, the best mixes are the ones that need the least amount of surgery. A few smart moves during the recording session can save you hours of painful corrective EQ later.
When your vocals sound boxy right off the bat, the culprit is almost always the room.
Even if you don't have a pro studio, you can get a dramatically cleaner raw recording. The whole idea is to kill the nasty reflections that cause those resonant frequencies to build up. Get that right, and you'll have a direct, clean vocal that practically mixes itself.
Your mic's position in the room—and where the singer stands in relation to it—is your first and best defense. It's a completely free way to shape the tone before you even hit record.
A classic mistake I see all the time is recording way too close to a wall, or worse, shoved into a corner. These spots are natural bass traps, amplifying all those low-mid frequencies and basically guaranteeing a boxy, boomy sound. Try moving your whole setup more toward the center of the room, as far away from any hard, reflective surfaces as you can get.
You also have to watch out for the proximity effect. That's the natural bass boost you get when a singer gets right up on a cardioid mic. A little bit can add some nice warmth, but too much of it turns into pure mud and boxiness. Try having the vocalist stand about 6-12 inches back. Experiment to find that sweet spot where you get presence without the boom.
Pro Tip: Don't just set up the mic and pray. Get the vocalist to sing while you physically move the mic around the room, listening closely on headphones. You’ll be shocked at how much the entire tonal character changes just by shifting a few feet left or right.
Look, you don't need to drop thousands on professional acoustic panels. The goal is simple: absorb sound reflections. You probably have everything you need to do a pretty decent job of it already. These DIY hacks can make a huge difference.
Try some of these budget-friendly tricks:
These simple moves break up standing waves and stop those problem frequencies from building up in the first place. For an even deeper dive, check out our guide on how to record vocals at home for more tips on getting your space ready.
When you tackle the issue at the source, your vocal tracks will be crisp, clear, and ready for a pro-level mix from the get-go.
When your vocals sound boxy, it's easy to write it off as just another technical fix on the to-do list. But in reality, a boxy vocal is a professional liability. It’s an unresolved issue that doesn't just sound amateurish; it actively sabotages your music's chances of success.
Think about it from a listener's perspective. On streaming platforms, you have seconds to make an impression. A muddy, muffled vocal just doesn't connect. It creates a barrier, causing people to lose interest and skip your track within the first 30 seconds. That skip tells the platform's algorithm your song isn't worth pushing, torpedoing your chances of landing on playlists.
For producers and mixing engineers, handing over a mix with boxy vocals is a direct hit to your credibility. It screams a lack of skill or, worse, a lack of care. This inevitably leads to unhappy clients and a frustrating cycle of endless revision requests. Those revisions aren't just annoying—they cost you real money.
A recent market report found that 12% of project studio clients ask for remixes specifically to fix muddy vocals. That extra studio time adds up, often costing an average of $250–$500 per track. This is more than just lost profit; it's a completely avoidable professional stumble.
The numbers are even starker on the consumer side. Studies show that songs with untreated boxy vocals are 27% less likely to be added to user playlists. You can dig into the numbers yourself and read the full research about these vocal mixing trends if you're curious.
A boxy vocal is more than a sonic flaw—it's a commercial bottleneck. It actively prevents your music from achieving its full potential by creating a barrier between your performance and the listener.
Once you understand these hidden costs, the act of fixing boxiness feels less like a chore and more like a crucial investment. It’s no longer just a tedious technical task. It’s about protecting your professional standing and giving your music a fighting chance in a ridiculously crowded market.
Whether you're an artist trying to build a fanbase or a producer building a roster of happy clients, clean, clear, and impactful vocals are simply non-negotiable.
Even after you've been mixing for a while, certain problems can still leave you scratching your head. If your vocals sound boxy, you might wonder if there's some simple trick you're missing. Let's clear up a few of the most common questions that pop up when you're chasing that perfect vocal tone.
You bet it can. While the room acoustics are usually the number one suspect, your microphone choice is a close second. Some mics just have a natural tendency to push those boxy frequencies forward.
This is especially true for certain dynamic mics or even some condensers that have a really pronounced midrange. If you pair one of those with a less-than-perfect room, you're practically asking for a boxy sound.
But it's not just the mic itself—it's how you use it. Get too close, and you'll trigger the proximity effect, which beefs up the low end. That extra low-frequency energy can easily spill into the low-mids and create a muddy, congested mess. On the flip side, sticking the mic in a corner or right up against a wall is a guaranteed way to amplify bass buildup and get that cardboard sound.
The Real Takeaway: A world-class mic can still sound awful in the wrong spot. Always take the time to experiment with mic placement. Sometimes moving it just six inches to the left can make all the difference.
A high-pass filter (HPF) is a must-have for vocal clarity, but it's not the right tool for this specific job. Think of an HPF (or low-cut) as your first line of defense against low-end garbage. Its job is to slice off all the useless sub-bass and rumble, usually everything below 80-120 Hz. This is huge for cleaning up mud and making room for your kick and bass to breathe.
Boxiness, however, lives a bit higher up the frequency ladder, typically hanging out in that 250-600 Hz zone.
So, while you should absolutely be using an HPF on pretty much every vocal track, it won't actually solve the boxiness problem. It just cleans up the basement so you can go upstairs and deal with the real issue. After you've set your HPF, you'll still need to grab a more surgical EQ to find and cut those specific resonant frequencies.
Oh, absolutely. It’s one of the easiest traps to fall into when you're fighting a problem track. In the heat of the moment, desperate to kill that boxy sound, it's tempting to just carve out a huge chunk of the low-mids. The problem is, you end up gutting the vocal, leaving it sounding thin, weak, and completely lifeless. All the natural warmth and body? Gone.
The key is to be deliberate and really listen, not just stare at your spectrum analyzer.
Here are a few pointers to keep you from going too far:
If you find that even a small static cut feels too aggressive, that's your cue to reach for a dynamic EQ. It's a much more transparent solution because it only kicks in when the problematic frequencies get too loud, leaving the rest of the vocal's natural character untouched.
Are you tired of your tracks sounding perfect in the studio but falling apart in the car? CarMaster is the only AI mastering service designed specifically to protect your music from the unique acoustic challenges of automotive sound systems. Get a free, instant preview and hear the difference for yourself. Master your song now at https://www.carmaster.io.

.png)