
Loudness isn’t just about turning up the volume knob. In the world of music production, it’s about the perceived power of a track—the consistent energy your ears pick up over time. It’s what separates a quick, loud sound from a feeling of sustained intensity. Getting this right is the key to making sure your music hits hard on every system it’s played on.

Here's a simple way to think about it. Imagine a single, sharp clap of thunder versus the steady, powerful roar of a waterfall. The thunder is a peak—an incredibly loud but very brief event. The waterfall, on the other hand, has a high average loudness. It’s a sustained force that feels consistently powerful.
That’s the exact distinction we’re dealing with in music. For a long time, digital audio was all about managing peaks. The goal was simple: make sure the loudest parts of a track, like a snare hit, didn't clip and create nasty distortion. But just looking at peaks doesn't tell you how "loud" a song actually feels to a listener. You can have two tracks with the exact same peak level, but one can feel way more energetic and impactful than the other because of its sustained energy.
To get a better handle on this feeling of sustained energy, engineers started using metrics like RMS (Root Mean Square), which does a much better job of showing a track's average level. But the real game-changer and the modern standard is LUFS (Loudness Units Full Scale). LUFS is a smart, sophisticated measurement designed to mimic how our ears actually perceive sound, even accounting for how we're more sensitive to certain frequencies.
This whole shift was a direct response to the infamous "loudness wars." This was a dark age in mastering where everyone was crushing their music with compression just to sound louder than the next track on the radio or CD. One analysis of hit songs found that average loudness jumped by around 6 dB between 1980 and 2000—that’s a four-fold increase in sound intensity! This left us with a lot of music that was dynamically flat, fatiguing to listen to, and just plain lifeless. It got so bad that streaming services had to step in and create new standards.
For those who want to dive deeper into how loudness trends have evolved, this thread on gearspace.com is a great read.
The Big Idea: Mastering to a LUFS target isn't about making your music quieter. It's about protecting its internal dynamics so it sounds powerful and clear after Spotify, Apple Music, or YouTube applies their own volume adjustments.
Ultimately, understanding loudness means looking past the peak meters. It’s about focusing on the overall perceived energy of your music. When you master for a balanced LUFS level, you’re giving your track the best possible chance to translate everywhere, delivering consistent impact whether it's blasting from a car stereo, playing through tiny earbuds, or shaking the floor at a festival.
To make sense of all this, it helps to have a quick cheat sheet for the main terms you'll encounter. Think of this as your go-to reference for decoding the language of loudness.
These three metrics work together to give you a complete picture of your track's loudness profile. Peaks prevent distortion, RMS gives a classic sense of level, and LUFS ensures your music translates perfectly to the modern listener.
The "loudness wars" finally hit a brick wall, and that wall was built by streaming. Think about it: platforms like Spotify, Apple Music, and YouTube had a huge problem. How do you go from a quiet acoustic ballad straight into a hyper-compressed metal anthem without blowing out your listeners' eardrums?
Their solution was elegant and completely changed the game: loudness normalization.
It’s like having a little automated audio engineer living inside the platform. Instead of just playing every track at its raw, mastered level, the services analyze the perceived loudness (the LUFS value) of every single song. Then, they simply adjust the playback volume to hit a specific target.
This one change completely upended decades of mastering philosophy. The old goal of being the loudest track on the CD was suddenly pointless. If you master your song to a blistering -8 LUFS, Spotify doesn't care. It’s just going to turn it down to meet its target level anyway.
That volume reduction is what the industry calls the "loudness penalty." It’s not really a punishment, though. It's just simple math to level the playing field for everyone.
A track mastered with beautiful, breathing dynamic range at -14 LUFS will probably play back at that exact level, sounding full and powerful. But that track you crushed to -8 LUFS? It's going to get turned down by 6 dB, instantly exposing all the sonic compromises you made to get it that loud in the first place. All the punch you thought you were adding gets lost.
This is the concept to grasp for making music today. Streaming platforms are all using their own flavor of this normalization to give listeners a consistent experience. Spotify, for instance, aims for about -14 LUFS. According to industry reports like the one from IFPI.org on the state of digital music, this means any track pushed hotter than that just gets its volume digitally lowered.
The crazy result? A dynamic master often sounds bigger and more powerful than a squashed one once it's on a streaming service. You can even see this in action with tools like the Loudness Penalty Analyzer, which shows you exactly how your track will be adjusted by different platforms before you even upload it.
See how a track gets turned down by different amounts on YouTube, Spotify, and others? This is exactly why mastering blindly for maximum volume is a losing strategy.
So, what’s the magic number? While the exact targets can vary a little bit between services, a solid consensus has emerged. Mastering for streaming isn't about hitting a single number—it's about making sure your music survives the journey to the listener's ears with its soul intact.
Here are the key targets to keep in mind:
When you master to these targets instead of fighting them, you get to stay in the driver's seat. You’re no longer battling the algorithm; you’re working with it to give your listeners the best possible experience.
This approach ensures your music translates properly, keeping the dynamics and impact you worked so hard to create. If you want to go deeper on this, we've laid out all the details in our complete guide to audio mastering levels.
Ever crank a searing guitar solo that feels way louder than a deep, rumbling bassline, only to look at your meters and see they’re hitting the exact same decibel level? It’s not your gear playing tricks on you. It's just how human hearing works.
Your ears aren't like a microphone, capturing sound in a perfectly flat, linear way. They’re biased. We’re naturally more sensitive to certain frequencies than others, a phenomenon mapped out by the famous Fletcher-Munson curves.
Put simply, our hearing is sharpest in the mid-range—think somewhere between 2 kHz and 5 kHz. This is no accident; it's the sonic territory where the human voice sits, where the sharp "crack" of a snare drum lives, and where we hear cries for help. Because of this built-in sensitivity, these sounds punch through and feel more present, even at lower volumes.
Once you grasp this, it completely changes how you approach mixing and mastering. It’s the reason why just cranking the fader on a sub-bass doesn't always make it feel bigger or more powerful. If it lacks the right mid-range harmonics to define it, it just turns into mud.
On the flip side, a piercing synth lead can feel like it’s drilling a hole in your eardrum, even if its technical level is relatively low. This is all because loudness in music is about so much more than a LUFS number. The frequency content of your track is king when it comes to perceived power.
A mix with a healthy spread of lows, mids, and highs will almost always sound louder and more impactful than one crammed into a narrow frequency band, even if they have the exact same integrated LUFS value.
This insight helps you use your tools more intelligently. Instead of just smashing everything with a compressor to get more volume, you can use EQ to sculpt the tonal balance and create a sense of power.
Want a vocal to feel more forward and energetic? A little boost in the upper-mids can work wonders without dramatically changing your overall LUFS reading. At the same time, carefully taming any harshness around 3-4 kHz can keep the track from becoming painful to listen to, making it feel powerful instead of just pointy.
This is where knowing your tools comes in handy. Understanding when to reach for an EQ versus a dynamic processor is crucial. To dive deeper, check out our guide on the difference between a limiter vs compressor.
Ultimately, mastering perceived loudness is an art. It's about using your knowledge of human hearing to craft a mix that feels loud, full, and clear—not just one that shoves the meters into the red.
Look, a perfect master cooked up in a treated studio is one thing. But if it completely falls apart on the drive home, what's the point? The car is the ultimate, most unforgiving test for any mix. Mastering for this real-world battlefield is the only way to make sure your music actually connects with people where they listen most.
Think about it. The inside of a car is an acoustic mess—a chaotic blend of road noise, engine rumble, and a million tiny, reflective surfaces. This environment will happily swallow the delicate parts of your mix, mask your entire low end, and scream any harsh frequencies right back at you. A master that isn't ready for this fight will sound thin, weak, or just plain painful.
To survive the car test, your master needs to be tough. This isn't just about cranking the volume. It's about building a balanced, resilient track that punches through all that background noise without making someone want to turn it off.
The real goal here is to create one master file that sounds great everywhere. It has to work in the car, on cheap earbuds, through laptop speakers, and even on a massive club system. Nailing that kind of versatility means digging into a few key specs that go way beyond a simple LUFS target.
A great place to start is with your Peak-to-Loudness Ratio (PLR). It sounds technical, but it’s just the difference between your true peak level and your integrated LUFS. So, if your track peaks at -1.0 dBTP and has an integrated loudness of -12 LUFS, your PLR is 11. Simple.
Here’s why it matters:
I’ve found that aiming for a PLR between 9 and 13 is the sweet spot for most modern music. This range gives you enough dynamic punch to feel exciting while keeping the track dense enough to hold its own against real-world noise.
Another non-negotiable check is mono compatibility. So many playback systems are basically mono—from club PAs to that little Bluetooth speaker your friend brought to the park. If your mix is all wide stereo effects, those cool elements can vanish or, even worse, create weird phasing issues when summed to mono. Your track will suddenly sound weak and hollow. Always, always check your master in mono to make sure the core of your song still hits hard.
A master that holds up in the car and in mono is a master that will sound good pretty much anywhere. These two tests expose weaknesses that your perfect studio setup can easily hide.
It’s about more than just numbers on a meter. By targeting a balanced LUFS level, managing your PLR, and locking in your mono compatibility, you’re creating a master that isn't just loud. It’s clear, impactful, and ready for whatever listening environment the real world throws at it. That’s how you make sure your vision actually reaches your audience, no matter where they're listening.
Below is a quick reference guide for loudness targets across different systems. While not a strict set of rules, it's a solid starting point for getting your masters in the right ballpark for various platforms.
This table offers a practical guide for mastering loudness levels, tailored to various listening environments to ensure your music translates effectively.
Remember, these are guidelines, not gospel. The most important thing is to use your ears and test your master in as many real-world environments as you can. A track that sounds great in your studio, your car, and on your phone is a track that's ready to go.
Alright, let's move from theory to practice. To get a real grip on loudness, you need the right tools. Thankfully, this doesn't mean dropping cash on expensive hardware. A simple loudness meter plugin is hands-down the most important tool in any modern mastering setup.
Think of these plugins as an intelligent dashboard for your track's volume. They live on your master bus—that final channel in your DAW—and give you a much deeper story than a simple peak meter. You get detailed readings for integrated LUFS, short-term LUFS, and true peak values, which is the complete picture you need to make smart decisions.
Getting started is easy. Just drop your loudness meter on your master bus as the very last plugin in your chain. When you hit play, you'll see a few key numbers that tell you exactly what's going on with your track's perceived volume.
A loudness meter doesn't make creative decisions for you, but it provides the objective data needed to ensure your artistic vision translates correctly to every platform. It's your guide for navigating the world of loudness normalization.
This chart gives you a sense of some common loudness targets for different environments, driving home why a one-size-fits-all approach just doesn't fly.
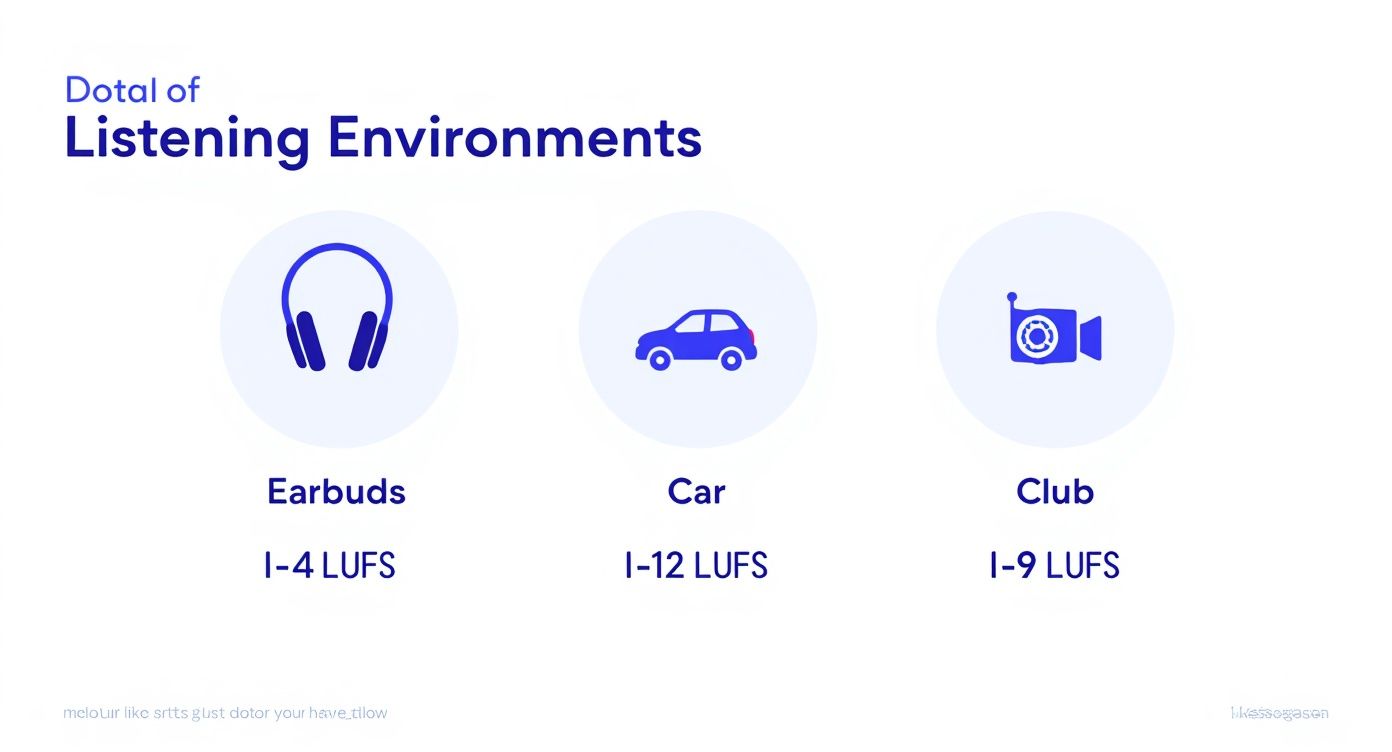
The key takeaway? Optimal loudness is all about context, whether it’s for the intimate, dynamic experience of earbuds or the high-energy demands of a club system.
Along with a good meter, a high-quality limiter is essential. The two work hand-in-hand. A limiter lets you cleanly control your peaks and raise the overall level to your target LUFS without squashing the life out of your track or adding distortion.
If you're just getting started, exploring different types of good mastering software at https://www.carmaster.io/post/good-mastering-software is a great move. Many of them bundle excellent limiters and meters together.
Ultimately, mastering and loudness play a huge role in how quality production affects music success. By using these tools to hit precise targets, you’re not just making your music "compliant." You’re giving it the professional polish and impact it needs to truly connect with listeners, no matter where they're listening.
As creators, we're all chasing powerful, impactful sound. But in that quest, we can't lose sight of the person on the other end of the headphones. The conversation around loudness in music is thankfully shifting—it's moving beyond a technical debate among engineers and becoming a crucial discussion about hearing safety and responsible production. This isn't about being the fun police; it's about acknowledging the real-world impact of the art we create.
Let's be real: prolonged exposure to hyper-compressed, screamingly loud music is a serious risk for noise-induced hearing loss (NIHL). The data is pretty jarring. The World Health Organization estimates that over 1 billion young people are at risk of hearing damage from their listening habits alone. A lot of popular music is mastered to sit between 90 and 100 dB SPL inside headphones, which is way over the sustained safe limit of 85 dB. For a deeper dive into this global issue, check out the key takeaways from the 2025 global report on NAMM.org.
The good news is, the industry is already course-correcting. The loudness normalization standards adopted by all the major streaming platforms are playing a huge, often unsung, role in protecting listeners. By automatically turning down tracks that are pushed too hard, services like Spotify and Apple Music are creating a much safer and more consistent listening environment.
This change actually helps us in the studio. Instead of fighting in the loudness war and crushing our mixes just to compete, we're now encouraged to focus on what really matters: dynamic range, clarity, and punch. We can master our music with confidence, knowing it will be adjusted to a reasonable playback level for everyone.
This big-picture view connects your work directly to your audience's well-being. Mastering for both impact and safety isn't a compromise—it's the mark of a true professional who cares about the people who love their music.
Ultimately, protecting our collective hearing is a shared responsibility. It starts in the studio but extends to how people listen. Part of that is understanding basic things like safety tips for sleeping with headphones, especially for anyone who listens for long stretches. By embracing modern loudness standards and promoting safe listening, we can make sure the future of music is not only exciting and dynamic but also sustainable for everyone's ears.
Alright, we've waded through the technical weeds and philosophical debates of modern loudness. Now, let's get straight to it and tackle the questions that always seem to pop up during mastering. Think of this as the quick-and-dirty guide to reinforce the big ideas.
There's no single magic number, but if you need a rock-solid starting point for streaming, aim for -14 LUFS integrated. Just as important, make sure your true peak level never creeps above -1.0 dBTP.
Why this specific target? It’s the sweet spot that keeps major platforms like Spotify and YouTube from turning your track down. Sticking to this is the best way to protect the dynamics you worked so hard on, ensuring your music hits with punch and clarity, not mush.
If you're mastering a banger for the club, you might push things hotter. But always, always check how it will sound after it gets normalized back down.
Absolutely. It matters more than ever, just in a different way. Normalization is just a volume knob; it adjusts the final playback level but doesn't change the character of your track one bit.
Picture a song that’s been smashed to bits at -8 LUFS. When a streaming service knocks it down by 6 dB to hit its -14 LUFS target, the track doesn't sound powerful anymore. It just sounds weak, flat, and lifeless.
Now, take a track that was intentionally mastered to -14 LUFS. At that same playback level, it will sound full, dynamic, and powerful because it was built to thrive there. The goal isn't to fight the system; it's to master your music so it sounds incredible within it.
Loudness today isn’t about raw volume. It’s about mastering for dynamic impact at a specific target. A track that breathes will always sound bigger and better after normalization than one that's been crushed.
Perceived loudness starts long before the mastering stage—it begins in the mix. A good mix engineer uses automation and gentle compression on individual tracks to manage dynamics from the ground up.
When you get to mastering, the game is all about balance and enhancement, not brute force.
Here’s the toolkit:
At the end of the day, a healthy dynamic range isn't your enemy; it's your greatest asset for achieving real, impactful loudness.
Ready to make sure your music sounds incredible in the car? CarMaster uses AI that's been specifically trained to optimize tracks for tricky automotive sound systems. It tackles common problems like weak bass and phase weirdness head-on. Get a free, instant preview and hear the difference for yourself. Stop letting bad car stereos ruin your mix. Master your track now at https://www.carmaster.io.

.png)