
Starting your journey in music production is exciting, but it can also feel overwhelming. With countless tools, techniques, and conflicting advice, knowing where to begin is often the biggest challenge. Whether you're a singer-songwriter recording in Ableton, a rapper laying down vocals on your phone with BandLab, or a bedroom producer trying to make your ideas sound professional, the path from a rough concept to a polished track is filled with potential pitfalls. This guide is designed to cut through that noise.
We’ve compiled a list of essential, actionable music production tips for beginners to provide a solid foundation and help you achieve clear, powerful results faster. These aren't vague theories; they are practical steps you can implement today. We'll cover everything from treating your workspace and mastering your DAW to strategic mixing techniques like compression and filtering. For beginners, understanding asset legality is also crucial for creative exploration, so knowing where to find copyright-free music and sound samples is an important early step. By focusing on these core principles, you'll accelerate your learning curve and gain the confidence to transform your creative ideas into finished songs that truly connect with listeners. Let's dive in.
A common mistake in music production for beginners is overlooking the room itself. Acoustic treatment is the process of adding sound-absorbing and diffusing materials to your production space. This controls sound reflections, reduces unwanted resonance, and creates an accurate listening environment, ensuring what you hear from your speakers is a true representation of your mix.
Working in an untreated room, like a spare bedroom or basement, means your mixing decisions are based on flawed information. Your room's unique dimensions and surfaces will unnaturally boost some frequencies and cancel out others, leading to a mix that sounds great in your space but falls apart everywhere else.
You don't need a professional studio budget to improve your room's acoustics. Start by identifying the most critical areas.
Key Insight: The goal isn't to make your room completely "dead" or silent. The objective is to create a balanced acoustic space where you can make mixing decisions with confidence.
Even simple adjustments can make a massive difference, especially when recording. Properly treating your room is fundamental for capturing clean audio, a principle that applies heavily when you learn how to record professional-sounding vocals at home.
Your Digital Audio Workstation (DAW) is the command center for your entire production process. Whether you use Ableton Live, FL Studio, Logic Pro, or Reaper, becoming deeply proficient with your chosen software is a non-negotiable step. This mastery allows you to translate creative ideas into music quickly and efficiently, without technical hurdles breaking your flow.
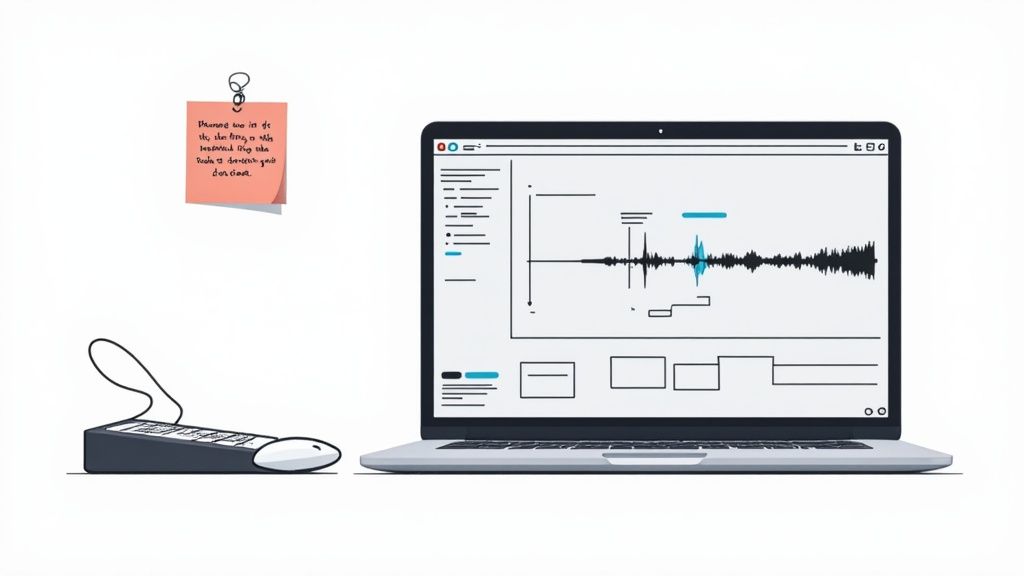
Many beginners jump between different DAWs, searching for a "magic" program, but this only slows their progress. The most successful producers, like Finneas and Billie Eilish with Logic Pro, commit to one platform and learn its every nuance. This deep knowledge transforms the software from a confusing tool into an intuitive extension of their creativity.
Instead of trying to learn everything at once, focus on incremental improvements that build a powerful workflow over time.
Key Insight: Your DAW is an instrument. The goal isn't just to know where the buttons are; it's to develop the muscle memory to operate it without conscious thought, freeing your mind to focus solely on the music.
A strong command of your software is one of the most vital music production tips for beginners, ensuring your technical skills can keep up with your artistic vision. If you're still deciding which software is right for you, exploring the best free Digital Audio Workstation software can be an excellent starting point.
One of the most crucial music production tips for beginners is to prioritize accurate sound monitoring. Relying on consumer headphones, earbuds, or laptop speakers is a common pitfall because they "color" the sound, often boosting bass or treble to sound more pleasing. This leads to flawed mixing decisions, creating tracks that sound good on your system but fall apart on others.
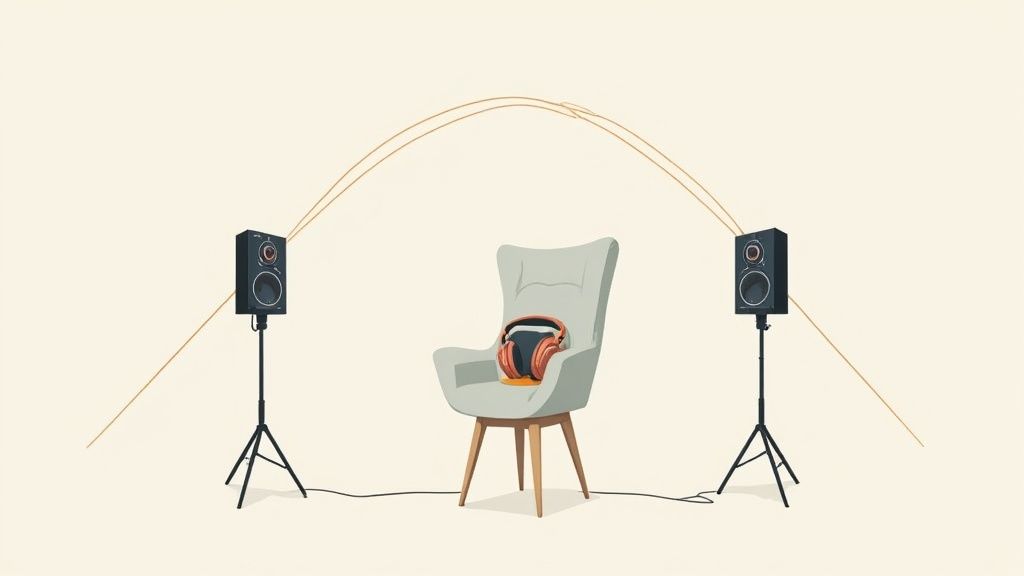
Studio monitors and reference headphones are designed to provide a "flat" frequency response, giving you an honest, uncolored representation of your audio. This accuracy allows you to hear subtle imperfections, balance frequencies correctly, and make informed choices. Investing in quality monitoring is not about luxury; it’s about ensuring your creative vision translates reliably to any playback system, from a car stereo to a club sound system.
You don't need the most expensive gear to get professional results. Many iconic producers, from Skrillex on Neumann monitors to lo-fi artists on affordable KRK Rokits, prove that it’s about accuracy, not price.
Key Insight: Your monitoring is your window into the mix. If the window is dirty or distorted, you cannot make clear decisions about what is happening inside.
Ultimately, accurate monitoring equipment empowers you to create mixes that are consistent and translatable. It’s a fundamental investment that pays dividends by removing guesswork and helping you produce music that sounds great everywhere.
Many beginner producers rely solely on their ear, which can lead to disjointed or aimless compositions. Learning basic music theory provides the structural "why" behind what sounds good, giving you a framework for creating coherent and emotionally resonant music. Understanding concepts like scales, chords, and harmony is a crucial music production tip for beginners that separates trial-and-error from intentional creation.
Lacking this knowledge can result in tracks that feel musically stagnant or melodically confusing. Whether it's a lo-fi producer using lush jazz chords (like major 7ths and minor 9ths) or an EDM artist building tension with harmonic mixing, a grasp of theory is the common thread. It empowers you to build compelling progressions and write melodies that connect with listeners.
You don't need a degree in music to apply these fundamentals. The goal is to learn practical concepts you can use immediately in your DAW.
Key Insight: Music theory isn't a set of rigid rules; it's a toolbox of proven techniques for creating emotion and structure. Use it to guide your creativity, not restrict it.
Applying just one new concept at a time, like using a minor chord to add a touch of sadness, can dramatically improve your songwriting. As you grow, you'll find that theory accelerates your workflow and expands your creative palette.
A powerful habit for any beginner in music production is to stop guessing and start comparing. Using reference tracks involves selecting professionally produced songs in your target genre to serve as a sonic benchmark. This practice provides a clear roadmap for everything from arrangement and instrumentation to mixing and mastering, helping you understand what makes a track commercially viable and sonically balanced.
Instead of working in a vacuum, you actively analyze how successful tracks are constructed. Many modern pop producers, for instance, reference chart-topping hits to nail the perfect song structure, while countless lo-fi artists study the signature production of Nujabes to capture that specific vibe. This isn't about copying; it's about learning from the best to elevate your own work.
Integrating reference tracks into your workflow is a simple yet transformative process. The key is to be intentional with your analysis.
Key Insight: The goal of referencing is to understand why certain production choices were made. Ask yourself why the bass is mono, why the vocals have a specific delay, or why the drums are compressed a certain way.
This analytical approach removes a significant amount of guesswork from the production process. By consistently comparing your work to established benchmarks, you will train your ears and develop the critical listening skills necessary for creating professional-sounding music.
Many beginner music production efforts falter due to weak or uninspired drums. The rhythmic elements of your track, primarily the drums and bass, serve as the energetic backbone of the entire song. A solid, compelling groove is what makes people move, and it provides the structural framework upon which all other melodic and harmonic ideas are built.

Neglecting your rhythm section results in a track that feels lifeless and amateur. Producers like Timbaland revolutionized hip-hop by prioritizing innovative drum programming, while artists like Daft Punk build entire hits around a meticulously crafted groove. Treating your drums as a foundational element, rather than an afterthought, is a critical step in elevating your music.
Building a professional-sounding rhythm section involves more than just dragging and dropping a few samples into your timeline. Focus on creating texture, groove, and impact.
Key Insight: A great drum groove isn't just about the notes you program; it's about the space between the notes. How the kick and bass interact, known as their "pocket," is the true source of a track's rhythmic feel.
Mastering drum programming is one of the most effective music production tips for beginners looking to make an immediate impact. By studying classic drum breaks and investing in high-quality sample packs, you give yourself the tools needed to build a track that feels polished, professional, and ready for any system.
Compression is one of the most powerful yet misunderstood tools in a beginner’s toolkit. In simple terms, it's an automatic volume controller. It reduces the dynamic range of a sound, making the quiet parts louder and the loud parts quieter. This creates a more consistent and polished sound that sits better in a mix.
Many producers either use too much compression, squashing the life out of their tracks, or not enough, leaving their mix sounding weak and inconsistent. The key is to apply it strategically based on the instrument's role. For example, the heavy, pumping compression on a Daft Punk vocoder track serves a different purpose than the subtle, smoothing compression on a lo-fi hip-hop vocal.
Think of compression as a tool for shaping dynamics, not just controlling volume. Every instrument benefits from a unique approach.
Key Insight: The goal of compression isn't to make everything loud, but to make everything consistent. Proper use adds punch, glue, and a professional sheen to individual tracks, making the final mix sound cohesive.
Understanding compression is a fundamental step for any new producer. To dive deeper, you can learn what compression does in music and how to apply it effectively.
One of the most powerful music production tips for beginners is to regularly check your mix in mono. This means collapsing your stereo (left and right) channels into a single, centered channel. While it may sound counterintuitive, this technique removes the "smokescreen" of stereo width, forcing you to address core issues like frequency clashes, phase problems, and poor balance between instruments.
Many consumer playback systems, like phone speakers, Bluetooth devices, and club sound systems, are mono or have limited stereo separation. A mix that relies too heavily on stereo panning might sound spacious on headphones but can completely fall apart and lose key elements on these systems. Mixing in mono ensures your track translates well everywhere.
Integrating mono checks into your workflow is simple and doesn't require any special gear. Most DAWs have a utility plugin or a master bus setting to switch to mono instantly.
Key Insight: If your mix sounds clear, balanced, and impactful in mono, it will sound absolutely massive when you switch back to stereo. Mono compatibility is the secret to a professional, universally translatable sound.
One of the most effective music production tips for beginners is learning to control low-end frequencies. High-pass filtering (HPF) is a mixing technique where you remove all frequencies below a specific point on an audio track. This simple move prevents unnecessary low-end information from accumulating and creating a muddy, unclear mix.
Many instruments, like vocals, hi-hats, and synths, contain low-frequency noise and rumble that don't contribute to their core sound. When layered together, this unwanted energy consumes valuable headroom and clashes with essential bass elements like your kick drum and bassline. A high-pass filter acts like a sonic chisel, carving away this mud to let the important parts of your mix shine through.
Nearly every stock equalizer plugin in any DAW comes with a high-pass filter, often labeled HPF or represented by a steep downward-sloping curve. Use it strategically across your mix.
Key Insight: Don’t filter everything blindly. The kick drum and sub-bass are typically left untouched, as their power resides in those low frequencies. Always set your filter while listening to the entire mix, not just the soloed track.
One of the most underestimated music production tips for beginners is managing ear fatigue. This is the temporary loss of hearing sensitivity and degraded decision-making that occurs after prolonged exposure to sound, especially at high volumes. Beginners often work for hours without a pause, leading to poor mixing choices they regret the next day.
Pushing through long sessions is counterproductive. As your ears get tired, your perception of frequencies and dynamics becomes skewed. You might add too much high-end to compensate for a perceived dullness or over-compress a track because your dynamic sensitivity has decreased. This results in a mix that sounds harsh and lifeless on fresh ears.
Integrating structured breaks and proper listening habits is non-negotiable for consistent, high-quality work. It protects your hearing and ensures your creative decisions remain sharp.
Key Insight: Your first hour in the studio is your most valuable. Your ears are fresh and your judgment is at its peak. Use this time for critical tasks like setting vocal levels, adjusting EQ on key instruments, and making final compression decisions.
By actively managing your listening time, you stop fighting against your own biology. This discipline is a hallmark of professional engineers and is crucial for developing the consistency needed to produce great-sounding music.
The journey from a passionate beginner to a confident producer is built one skill at a time. The path isn't about memorizing every obscure plugin or chasing fleeting trends. Instead, it's about mastering a core set of principles that form the bedrock of professional sound. The music production tips for beginners we've explored provide exactly that: a reliable roadmap to elevate your craft from the ground up.
Think of each tip as a fundamental building block. Treating your acoustic space and investing in quality monitoring aren't just expenses; they are investments in accuracy, ensuring what you hear is what you get. Truly mastering your DAW transforms it from a confusing interface into an extension of your creative mind, enabling you to capture ideas without friction.
Beyond the technical, the most impactful growth comes from developing consistent, intelligent habits. Learning to mix in mono forces you to build a solid, phase-coherent foundation, while strategically using high-pass filters is the secret to creating clarity and headroom. These aren't flashy tricks; they are the disciplined, everyday actions of producers who consistently create clean, powerful mixes.
Similarly, the practice of using reference tracks anchors your work to a professional standard, providing an objective benchmark for your EQ, compression, and stereo imaging choices. This analytical approach, combined with the crucial habit of taking regular breaks to manage ear fatigue, prevents you from mixing in circles and helps you make better decisions, faster.
Ultimately, the goal of great music production is translation. You are translating the powerful musical idea in your head into a final track that connects emotionally with a listener, wherever they are. This is why mastering for different environments is non-negotiable. Many of your fans will first hear your track through their car speakers, a notoriously challenging listening environment that can mercilessly expose a weak low-end or harsh high frequencies.
Consistently applying these fundamentals, from foundational drum programming to strategic mixing techniques, will dramatically improve your results. Each track you finish using these principles is another step forward. You'll begin to notice your mixes sound tighter, your arrangements feel more intentional, and your final masters translate more reliably across different systems. This is the real reward: the confidence that comes from knowing how to consistently produce music that sounds as good to the world as it does in your studio.
Ready to ensure your final mix sounds incredible in the one place it matters most? CarMaster uses AI specifically trained to optimize your music for car audio systems, fixing common translation problems and delivering a powerful, clear, and professional-sounding master every time. Stop guessing and start releasing with confidence by trying CarMaster today.

.png)