
Mixing rap vocals is a game of stages. It all starts with meticulous preparation, moves into strategic EQ and compression, and wraps up with creative effects and automation. The whole point is to get the vocal sounding clean, powerful, and sitting perfectly in the beat so every single word hits hard.
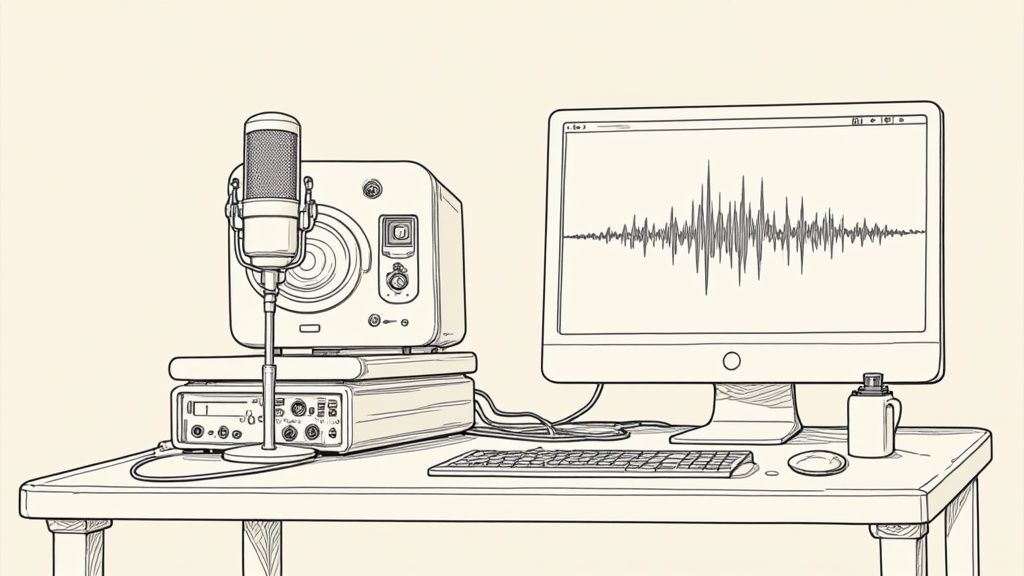
Before you even think about reaching for an EQ or compressor, the real work begins. This initial prep phase is the foundation for your entire mix. If you skip it, you're trying to build a house on shaky ground—it's just going to cause headaches later. Trust me, a clean and organized vocal track makes every other decision you make ten times easier and more effective.
This stage isn't glamorous, but it's what separates a muddy, amateur recording from that crisp, professional sound that cuts through. Think of it like a painter prepping their canvas before laying down any color.
First thing's first: proper gain staging. The goal here is simple—give your plugins enough room to breathe without causing any digital distortion. If a signal comes in too hot, it clips. That creates a nasty, harsh sound that's almost impossible to truly fix.
You want your raw vocal track to peak somewhere around -10 dB to -12 dB on the channel fader. That's the sweet spot. It's loud enough to be clear, but low enough that you won't risk clipping as you start adding processing. This one simple move sets you up for a clean signal path from the jump.
Let’s be real, most pro-level recordings aren't one single, flawless performance. They’re a "comp"—a composite of the best parts stitched together from multiple takes. This is where you need to put your critical listening hat on.
Go through every take and hunt for the strongest phrases, words, or even syllables. Don't just listen for whether the notes are right; listen for the delivery that has the most energy, the clearest articulation, and the best pocket with the beat. Slice out those golden moments and assemble them onto one master vocal track. This process, called vocal comping, is a non-negotiable step if you're chasing a world-class sound.
A great comp can completely elevate a song. It’s not about faking a performance—it’s about showcasing the absolute best version of the artist's delivery to guarantee maximum impact.
Once you've got your perfect take pieced together, it's time for a deep clean. This is the surgical part where you get rid of all the distracting, unprofessional little noises that microphones inevitably pick up.
This quick checklist covers the key tasks I run through on every vocal before I start the actual mix. Getting these right saves a ton of time and avoids fighting problems that should have been solved at the source.
Following this list ensures your vocal is in the best possible shape before any creative processing begins, making the rest of the mix feel effortless.
This minimalist flow chart illustrates the core stages of mixing rap vocals, from initial cleanup to final effects.
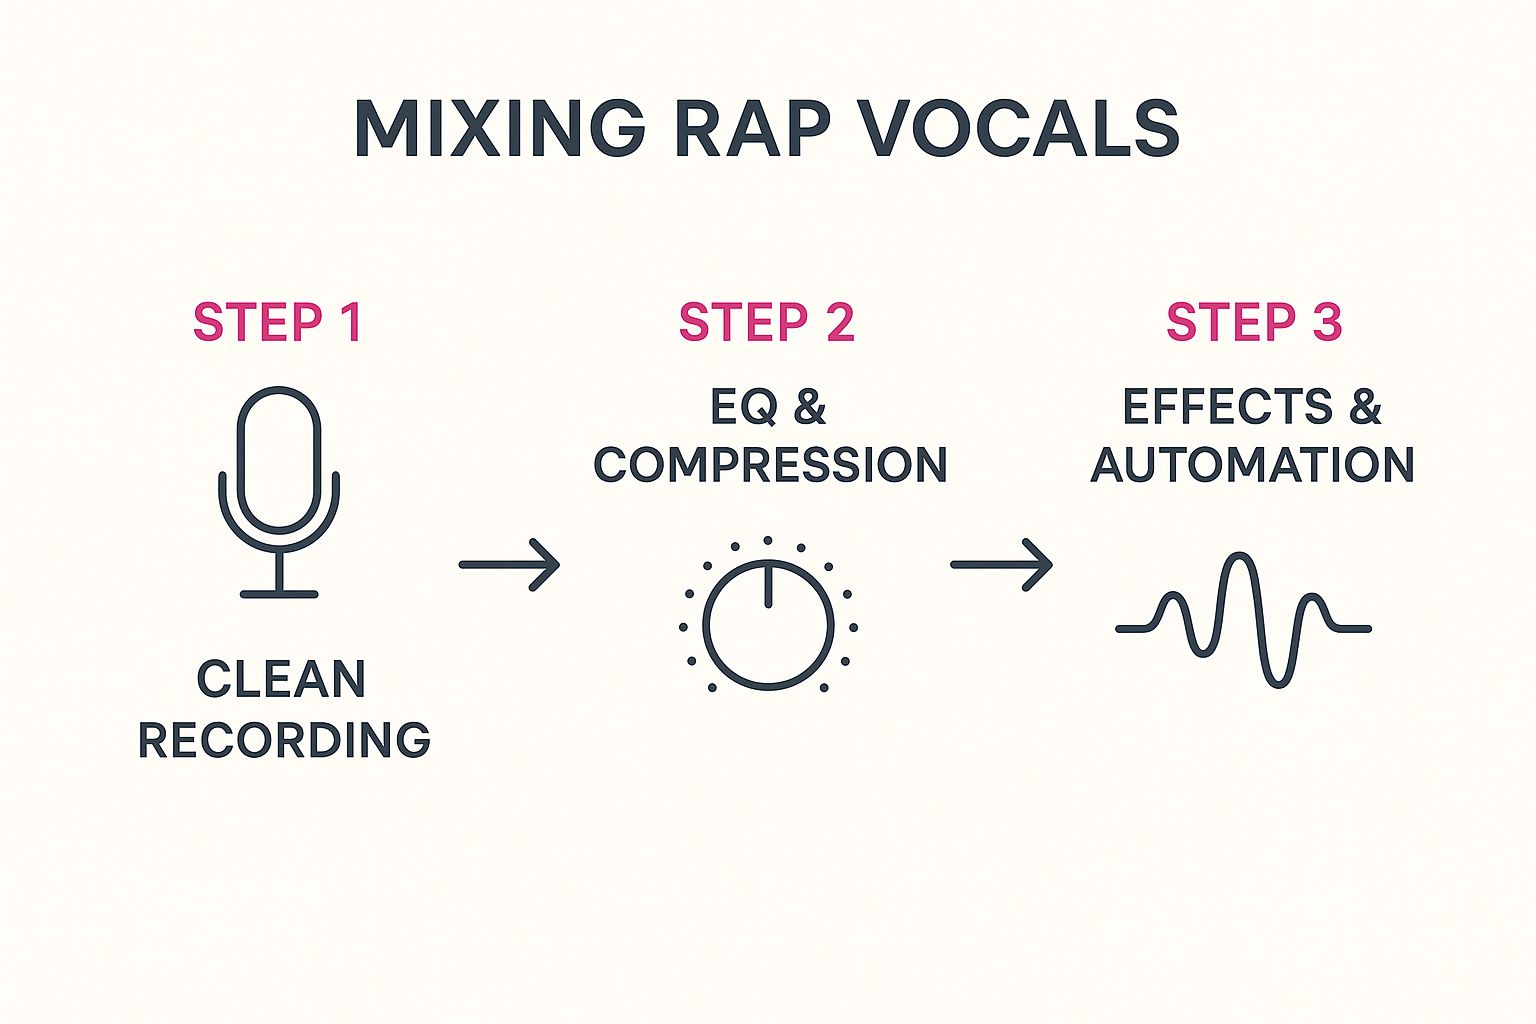
As you can see, a successful mix is a sequential process. Each step builds on the last, leading to that polished, final product.
Here are the common culprits you should be hunting down:
In modern rap vocal mixing, this kind of pre-processing cleanup is absolutely critical. Getting rid of unwanted sounds and using specialized tools for clarity before you even touch an EQ can make a night-and-day difference. If you want to dive deeper, you can explore expert guides on recording and mixing to really nail these foundational techniques.
Alright, your vocal is clean and the levels are set. Now it’s time for EQ. The biggest mistake I see beginners make is instantly reaching for a boost to make things sound “better.”
Don’t do it.
Think like a sculptor for a minute. Your job isn't to add more clay; it's to chip away the rough, unnecessary parts to reveal the art underneath. That's the whole game with subtractive EQ. You're carving out space so the rap vocal can sit perfectly on top of the beat and cut through with total clarity.
The main goal here is to get rid of nasty frequencies that are fighting with the instrumental or just making the vocal sound cheap. By cutting these problem spots first, you'll be surprised how often you don't even need to boost anything later. The vocal just naturally sounds cleaner and requires way less work down the line.
Every rapper's voice and every recording space is different, but some frequency ranges are almost always trouble. Learning to spot and tame these is a core skill for mixing rap. The best way to find them is a classic technique called "sweeping."
It's pretty simple: you create a narrow EQ band, boost it way up, and then slowly drag it across the frequency spectrum. As you move, certain frequencies will jump out and sound awful—harsh, boxy, muddy, you name it. When you find one, you just flip the boost into a cut and pull that frequency down until the problem disappears.
Here are the usual suspects I'm always on the lookout for:
By surgically removing these issues, you clean up the vocal without messing with its core character.
Let's say you get a vocal that was recorded in a bedroom with zero acoustic treatment. The performance is fire, but it has that tell-tale "boxy" sound right around 400 Hz. It literally sounds like the artist was rapping inside a cardboard box, and it's fighting with the snare and synths in your beat.
Instead of trying to boost the highs to mask the problem, go straight to the source. Open your parametric EQ, make a moderate cut with a medium Q (that's the bandwidth), and park it right on 400 Hz. As you gently pull the gain down, you'll hear that boxy sound just melt away. The vocal will instantly feel like it belongs in the track. That one simple cut is more powerful than any boost you could have tried.
EQ is almost always about what you take away, not what you add. A few smart cuts will do more for your vocal clarity than wide, sweeping boosts ever could. You're trying to create a clean slate so the vocal's true tone can shine.
Sometimes, a permanent EQ cut isn't the right move. Take those harsh "ess" and "tee" sounds—what we call sibilance. They only pop up on certain words, right? If you make a static cut in that sibilant range (usually between 5-8 kHz), you risk making the entire vocal sound dull and lifeless.
This is where a dynamic EQ becomes your secret weapon.
Think of it as a super-smart EQ that only kicks in when a certain frequency gets too loud. You can set it to duck those harsh sibilant frequencies only when they actually happen, leaving the rest of the vocal's top-end sparkle untouched. It gives you incredible control, letting you kill the harshness without sacrificing the crispness of the overall performance. For a deeper dive on this and other essential techniques, learning more about how to EQ vocals will give you a much bigger toolkit.
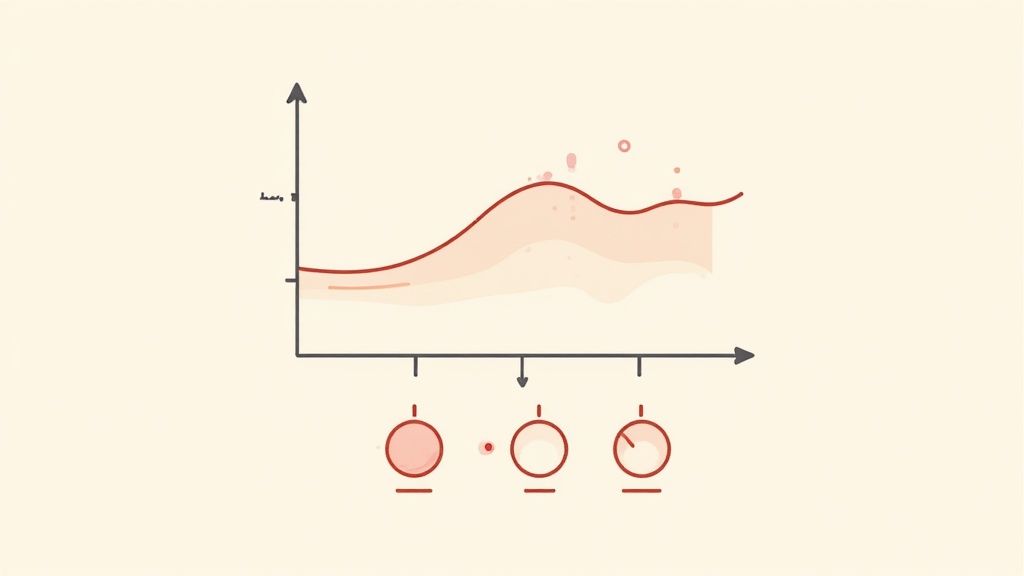
Rap vocals are pure energy. One second, it’s a hushed, intimate whisper, and the next, it’s an aggressive, in-your-face shout. That massive dynamic range is exciting, but it’s a nightmare to mix. Without some control, the vocal will get buried in the beat one moment and then jump out and blast the listener the next.
This is where your compressor comes in. It’s the tool that tames that raw energy, making sure every single syllable sits perfectly in the pocket. It works by turning down the loudest parts, which lets you turn the whole thing up. The result? That consistent, upfront vocal sound that defines modern hip-hop.
Getting a feel for a compressor's main controls is non-negotiable. For rap, you’re usually looking for firm control, but you don't want to completely squash the life out of the performance.
Here’s a solid starting point for your main vocal compressor:
These are just starting points, not gospel. The real goal is to make the vocal sound effortlessly consistent, not obviously squashed. Always trust your ears over the meters.
Sometimes, making one compressor do all the heavy lifting sounds strained and obvious. A much cleaner, more professional approach is serial compression. This is just a fancy way of saying you use two (or more) compressors back-to-back, with each one doing just a little bit of work.
This technique is a lifesaver for really dynamic rap vocals. You could set up the first compressor with a really fast attack and a higher ratio, just to catch the absolute loudest peaks—maybe knocking off only 1-2 dB. The second compressor can then have a slower attack and lower ratio to gently even out the overall performance, providing another 2-3 dB of smooth gain reduction.
The result is a vocal that feels powerful and controlled but still breathes and has punch. It’s a much more musical way to get the job done.
What if you want that in-your-face energy without killing the vocal's natural vibe? Enter parallel compression, often called "New York" compression. The whole idea is to blend a hyper-compressed version of your vocal in with the original, untouched signal.
It’s surprisingly simple to set up:
This trick gives you the best of both worlds: the clarity of your original take plus the power and thickness of a heavily compressed one. For a deeper dive into how this all works, check out our guide on what compression does in music.
Okay, so you’ve dialed in your EQ and compression. The vocal sounds clean, it’s controlled, and every word is clear. That’s a great start. But let's be honest—it probably sounds a little small, just sitting there in the center of the mix by itself.
This is where we take that clean vocal and make it feel huge. We’re going to transform a single, lonely track into a rich, three-dimensional performance that grabs the listener and fills up the speakers. The secret isn't one magic plugin; it's about building layers and creating a believable sense of space.
One of the fastest ways to add weight and energy to a rap vocal is with doubles. A vocal double is just what it sounds like: a second take of a line, recorded on a separate track, that you blend underneath the main vocal. When you pan them apart, you get this incredibly powerful and wide stereo effect.
For a hook that really needs to punch through, try this simple trick:
This technique instantly makes your hook feel bigger and wider than your verse, creating that dynamic shift that makes a track exciting. Ad-libs work the same way. Get creative and pan them all over the stereo field—some left, some right, some with a touch of delay—to add that ear candy that keeps people hooked. If you're new to this, it's worth learning the fundamentals of panning in music production to really nail how to place sounds in your mix.
Don't stress about getting your doubles perfectly timed. Those tiny, natural variations between the main take and the doubles are actually what create that rich, chorus-like sound. If they're too perfect, you can run into weird phasing issues, and it just sounds robotic.
Reverb and delay are your best friends when it comes to giving a vocal a place to live. These effects create an environment, giving the listener a sense of a real, physical space—whether that’s a tight, intimate room or a massive concert hall. The trick is to use them with intention, not just by slapping a random preset on the channel.
The professional way to do this is with sends and busses. Instead of putting a reverb plugin directly on your vocal track, you "send" a copy of the vocal to an auxiliary (aux) track where the reverb is waiting. This is huge because it gives you independent control over the dry vocal and the wet effect. Your vocal stays crisp and upfront, while the reverb adds atmosphere behind it.
Think about the vibe of the song:
This concept of layering vocals for a thicker sound isn't some new-school trick. Engineers have been doing this for decades. Vocal doubling was a staple for artists like The Beatles, who really set the stage for the dense vocal arrangements we hear in rap today. Back then, they even invented electronic methods like Artificial Double Tracking (ADT) to get the effect because of the limits of tape machines.
To help you get started, here's a quick look at the different types of vocal layers you'll often find in a professional rap mix and what they're used for.
Mixing and matching these layers is how you turn a simple vocal recording into a dynamic and engaging performance that stands out.
Here’s a tip that will instantly make your effects sound more professional: make sure they’re in time with the track. A delay that’s randomly timed just sounds messy and amateur.
Thankfully, most delay plugins let you sync the delay time to your project’s BPM. You can choose musical subdivisions like quarter notes, eighth notes, or sixteenth notes.
A classic move in rap is using a 1/8th note delay on certain ad-libs or on the last word of a phrase. This creates a rhythmic echo that bounces perfectly in time with the beat, filling in gaps and adding a killer sense of groove. Don’t be afraid to experiment with different subdivisions and use automation to bring delays in and out. That way, you get maximum impact without cluttering up the whole mix.
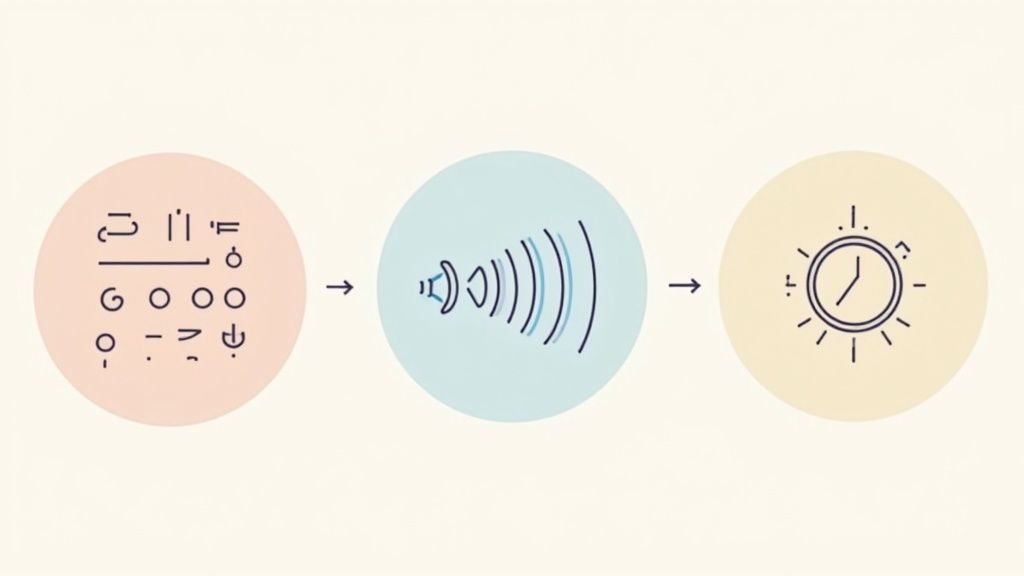
Alright, your vocal is clean, controlled, and carved out a nice pocket in the mix. You’ve handled the big stuff—EQ, compression, and effects are all dialed in. But that final 10% is what separates a good mix from a great one. This is where we stop being technicians and start being artists, adding character and life to make the performance truly engaging.
Our two best friends for this job are saturation and automation. Saturation gives the vocal that analog warmth and aggressive edge, helping it punch through a heavy beat. Then, automation becomes our secret weapon for making the vocal feel alive, emphasizing key words and making the whole performance breathe.
Think of saturation as a "vibe" knob. It’s basically subtle, musically-pleasing distortion that sounds like you ran the audio through some classic analog gear—think old tape machines or tube preamps. It doesn't just make things louder; it adds new harmonics that make the vocal sound richer, fuller, and more present. For rap, a little saturation is like adding a bit of gravel and attitude to the voice.
It's a fantastic trick to make a vocal feel more aggressive and glued to the beat. There are a few flavors to play with:
Try adding a saturation plugin right after your compressor. Start light—you’re not looking for obvious, crunchy distortion. The goal is a subtle lift that makes the vocal feel more exciting and helps it stand up to the instrumental.
Ever listen to a pro mix and wonder how every single word feels intentional and impactful? The answer is almost always automation. Instead of leaving your settings static for the whole track, automation lets you draw in changes over time, making the mix react to the performance. This is where you really start to paint with sound.
Automation is the closest thing we have to a "magic" button. It lets you ride the fader like a live sound engineer, ensuring every crucial word lands with impact and every subtle breath adds to the emotion instead of distracting from it.
You can automate just about anything, but for rap vocals, these are the money moves:
This detailed work is what separates a static mix from a living, breathing track. A lot of modern rap relies on stacked vocals for a bigger sound, and automation makes that technique even more powerful. In fact, layering vocals is a studio staple; analysis of major productions shows that stacking takes can boost the perceived thickness of a vocal by up to 30%.
Engineers for artists like Big Boi and T.I. have been known to stack up to five layers just for a lead vocal to get that massive, commanding presence. By automating the volume and effects on those layers, you can make that thick vocal stack feel dynamic and alive. Check out how some industry professionals on YouTube break down these techniques. It’s this combination of layering and automation that will keep your listeners glued from the first bar to the last.
Look, as you get deeper into mixing rap vocals, you're going to hit some walls. It’s inevitable. You’ll run into specific challenges that feel like total roadblocks, but trust me, you’re not alone. Engineers at every single level wrestle with these exact same issues.
Let's dive into some of the most common questions that pop up time and again. These are the real-world problems—from getting a vocal to cut through a chaotic beat to figuring out when an effect is actually hurting your mix. Think of this as your go-to troubleshooter.
This is the classic mixing dilemma, right? Your vocal sounds incredible on its own, the beat is fire, but when you put them together... it's a muddy disaster. The vocal either gets completely lost or just sort of floats awkwardly on top of everything else.
The fix is almost never just turning up the fader. It's about creating space. Your best friends here are EQ and sidechain compression.
Honestly, the "right" amount of pitch correction is 100% a creative call. It's also one of the most argued-over topics in modern rap production. There's a razor-thin line between subtle, transparent correction and that hard-tuned, robotic T-Pain effect.
There's no magic number for Auto-Tune. The goal is to match the vibe of the song. A gritty, lyrical track might need minimal, natural-sounding correction, while a modern melodic trap song might call for that classic, hard-tuned effect as a core part of its sound.
To dial it in, the main knob you need to worry about is Retune Speed:
Just remember to always listen in the context of the full track. What sounds amazing soloed might be way too much (or not enough) once the beat is banging alongside it.
Those piercing 'ess' and 'tee' sounds—known as sibilance—can make an otherwise great vocal sound harsh and amateur. You might be tempted to just grab an EQ, but that's often a clumsy tool for a job that needs a scalpel. If you cut the main sibilant frequencies (usually 5-8 kHz) across the board, you risk sucking the life and air out of the entire vocal.
The much better tool for this job is a De-Esser.
Think of a de-esser as a highly targeted compressor. It only kicks in and turns down those specific sibilant frequencies, and only when they get too loud. This is way more transparent than a static EQ cut because it leaves all the brightness and energy of the vocal completely untouched the rest of the time.
For more great advice on prepping your audio for a pro-level finish and getting answers to other common production headaches, it's worth checking out resources like theclipbot Blog for Audio Production Tips. Digging into blogs like that can give you other angles on getting your tracks clean before you even have to reach for a de-esser.
At the end of the day, every vocal is different. The key is to listen critically and pick the right tool for whatever problem you're trying to solve.
Your mix is done, but is it ready for the car test? Don't let a bad car speaker ruin your release. At CarMaster, we specialize in AI mastering that ensures your music sounds powerful and clean on any automotive system. Upload your track for a free preview and hear the difference in minutes. Protect your sound where it's heard the most by visiting https://www.carmaster.io today.

.png)